How to Create a Performance Website in INVISION
Audience: Super Admins only
Purpose: This guide explains how to create and publish a client-facing Performance Website through INVISION.
Overview
Performance Websites allow approved trial results to be published as a polished, public-facing experience that can be shared with clients, commercial teams, partners, and external audiences.
Super Admins can now create these websites directly from INVISION using a guided setup workflow.
Step 1: Open Performance Websites
From the INVISION left navigation, go to:
Super Admin → Performance Websites
This page displays all existing Performance Websites, including their status and last updated timestamp.
To create a new website, click Create Website.
Step 2: Configure Website Basics
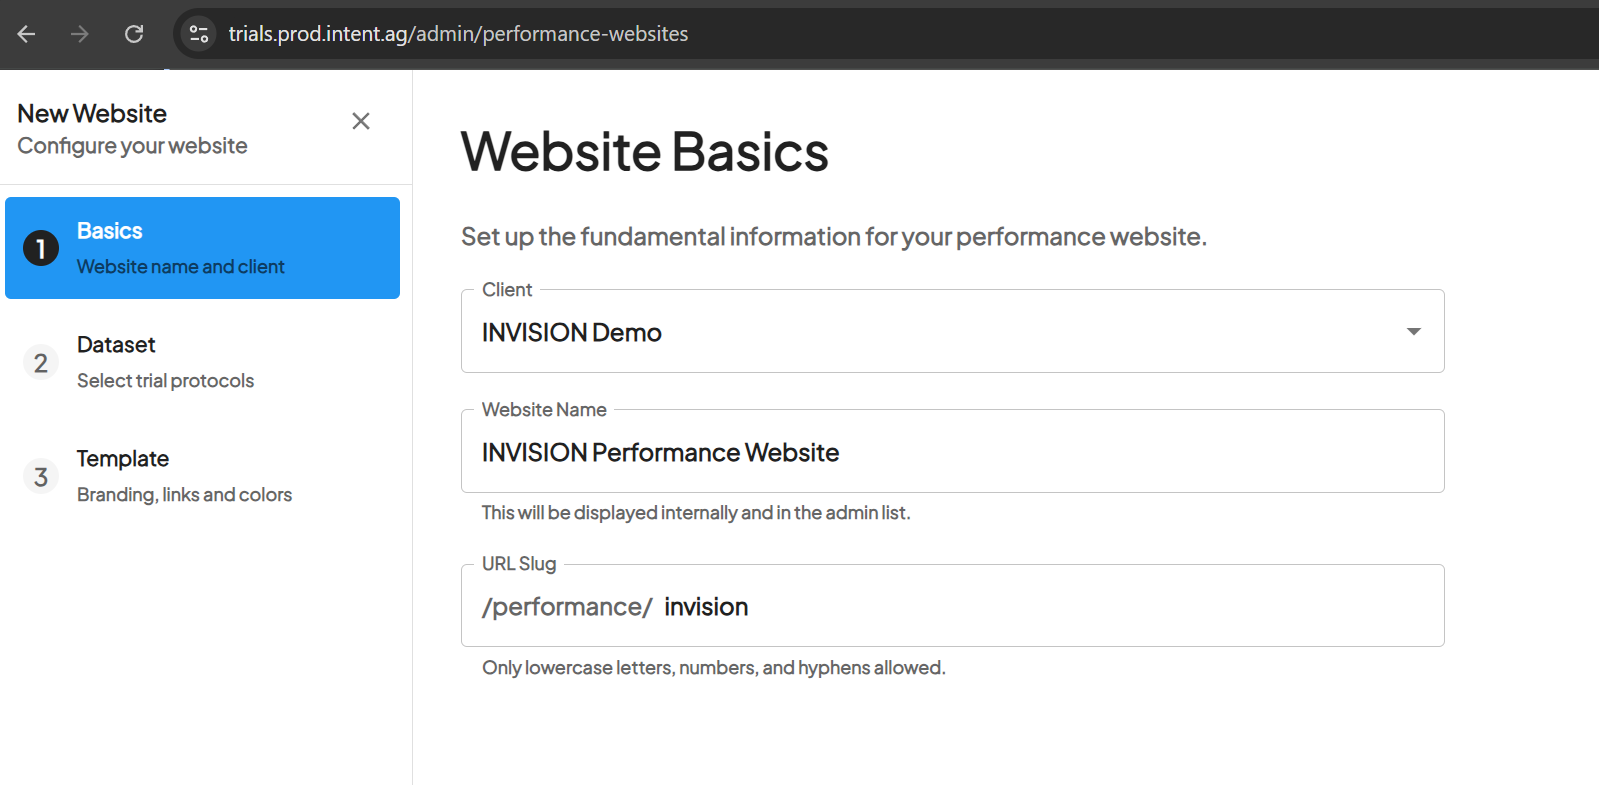
In the Website Basics step, enter the foundational website information.
Complete the following fields:
Client
Select the client the Performance Website belongs to.
Website Name
Enter the internal website name. This name is used in the admin list and helps identify the website inside INVISION.
URL Slug
Enter the public URL slug for the website. The slug should use lowercase letters, numbers, and hyphens only.
Example:
/performance/invision
After completing this step, continue to the dataset selection step.
Step 3: Select Trial Data
In the Dataset step, choose which trial protocols should be included on the Performance Website.

Use the protocol table to review available trial data by:
Select the checkbox next to each protocol that should appear on the public-facing website.
You can also use the search field to filter protocols and quickly find the correct trial data.
Step 4: Configure Template and Branding
In the Template & Branding step, configure how the public website should look and what supporting information should appear.
Complete the following fields:

Website Title
The title shown on the public Performance Website.
Subtitle
Supporting text that appears under the title.
Icon / Logo
Add the website logo or icon using a URL or file upload.
Primary Color
Choose the main brand color for the website.
Contrast Text Color
Choose the text color used against the primary color.
Disclaimer Text
Add any disclaimer or supporting message that should appear on the public website.
You can also configure website options such as:
If needed, add external links that should appear on the website, such as a company website or related performance page.
Step 5: Publish the Website
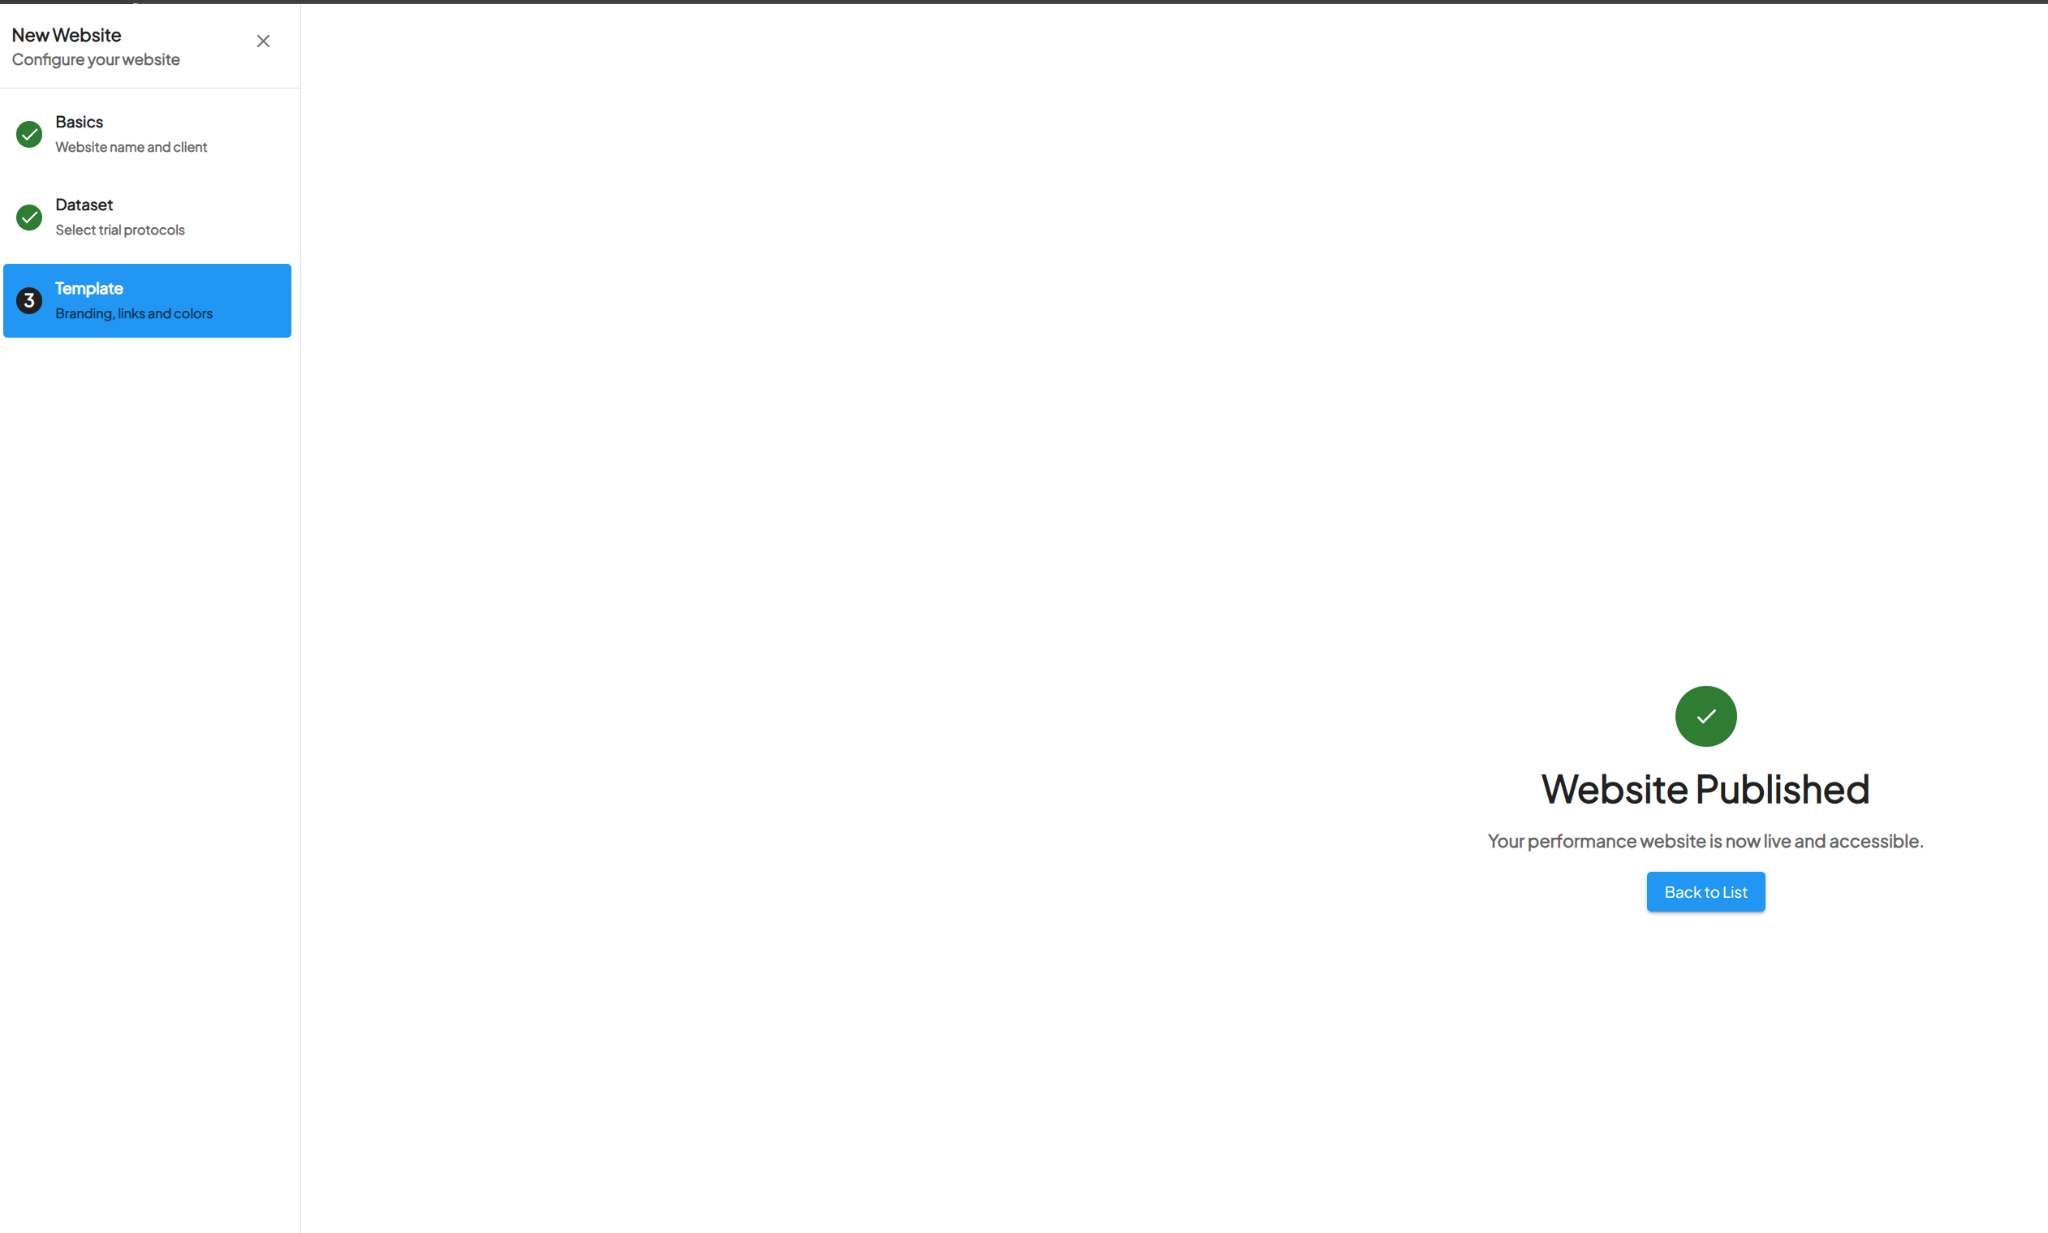
Once the website basics, dataset, and branding are configured, publish the website.
After publishing, INVISION will display a Website Published confirmation screen.
The website will then appear in the Performance Websites list with a published status.
Step 6: Open the Published Website
After the website is published, return to the Performance Websites list.
The website row will show:
Use the external link icon on the right side of the row to open the published Performance Website URL.

Notes
Only Super Admins can create and manage Performance Websites.
The published website should only include approved trial data that is ready for external visibility.