How to Add Users to a Project
Guide to Adding Users to a Project
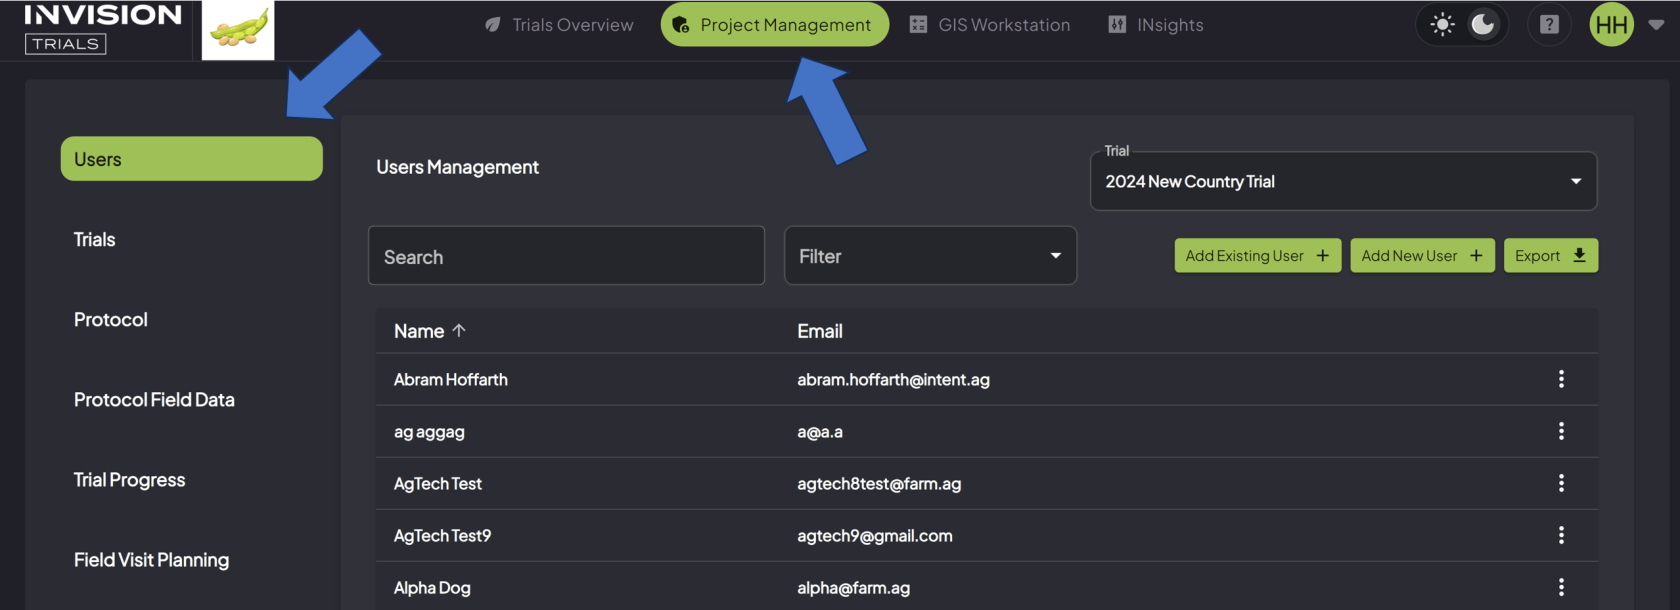
- Navigate to the Users section of the Project Management tab
-
From the Admin tab, select Users from the left panel.
-
-
Select the Trial
-
Choose the correct Trial from the drop-down box.
-
-
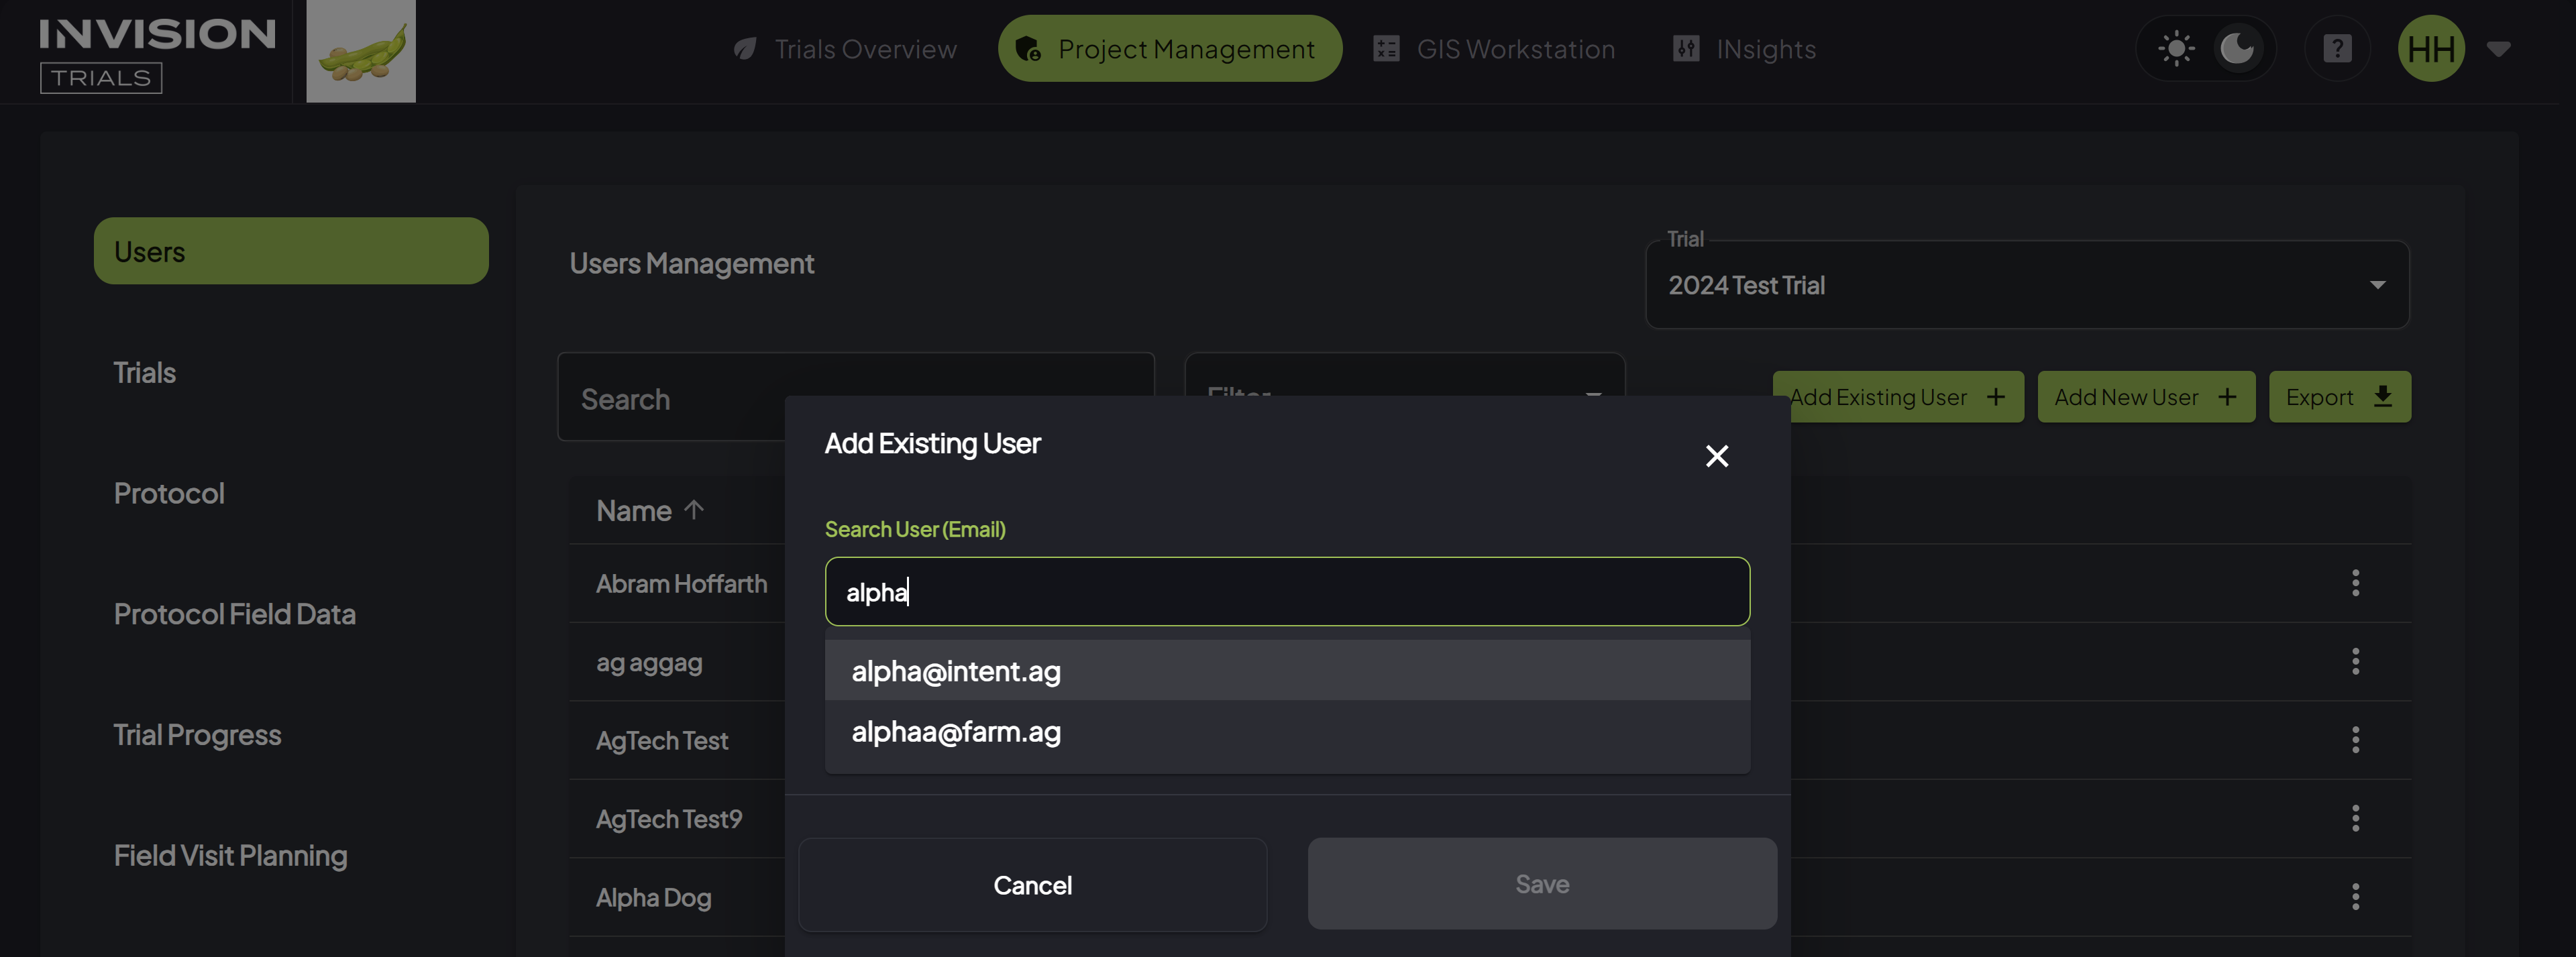
Add Existing User
-
Choose Add Existing User if you know the user is already in the INVISION system.
-
The Add Existing User button will give access to a list of all existing users in your system.
- Search for the user by typing their email in the search bar.

- Once you find them, select the email and click the Save button.
-
-
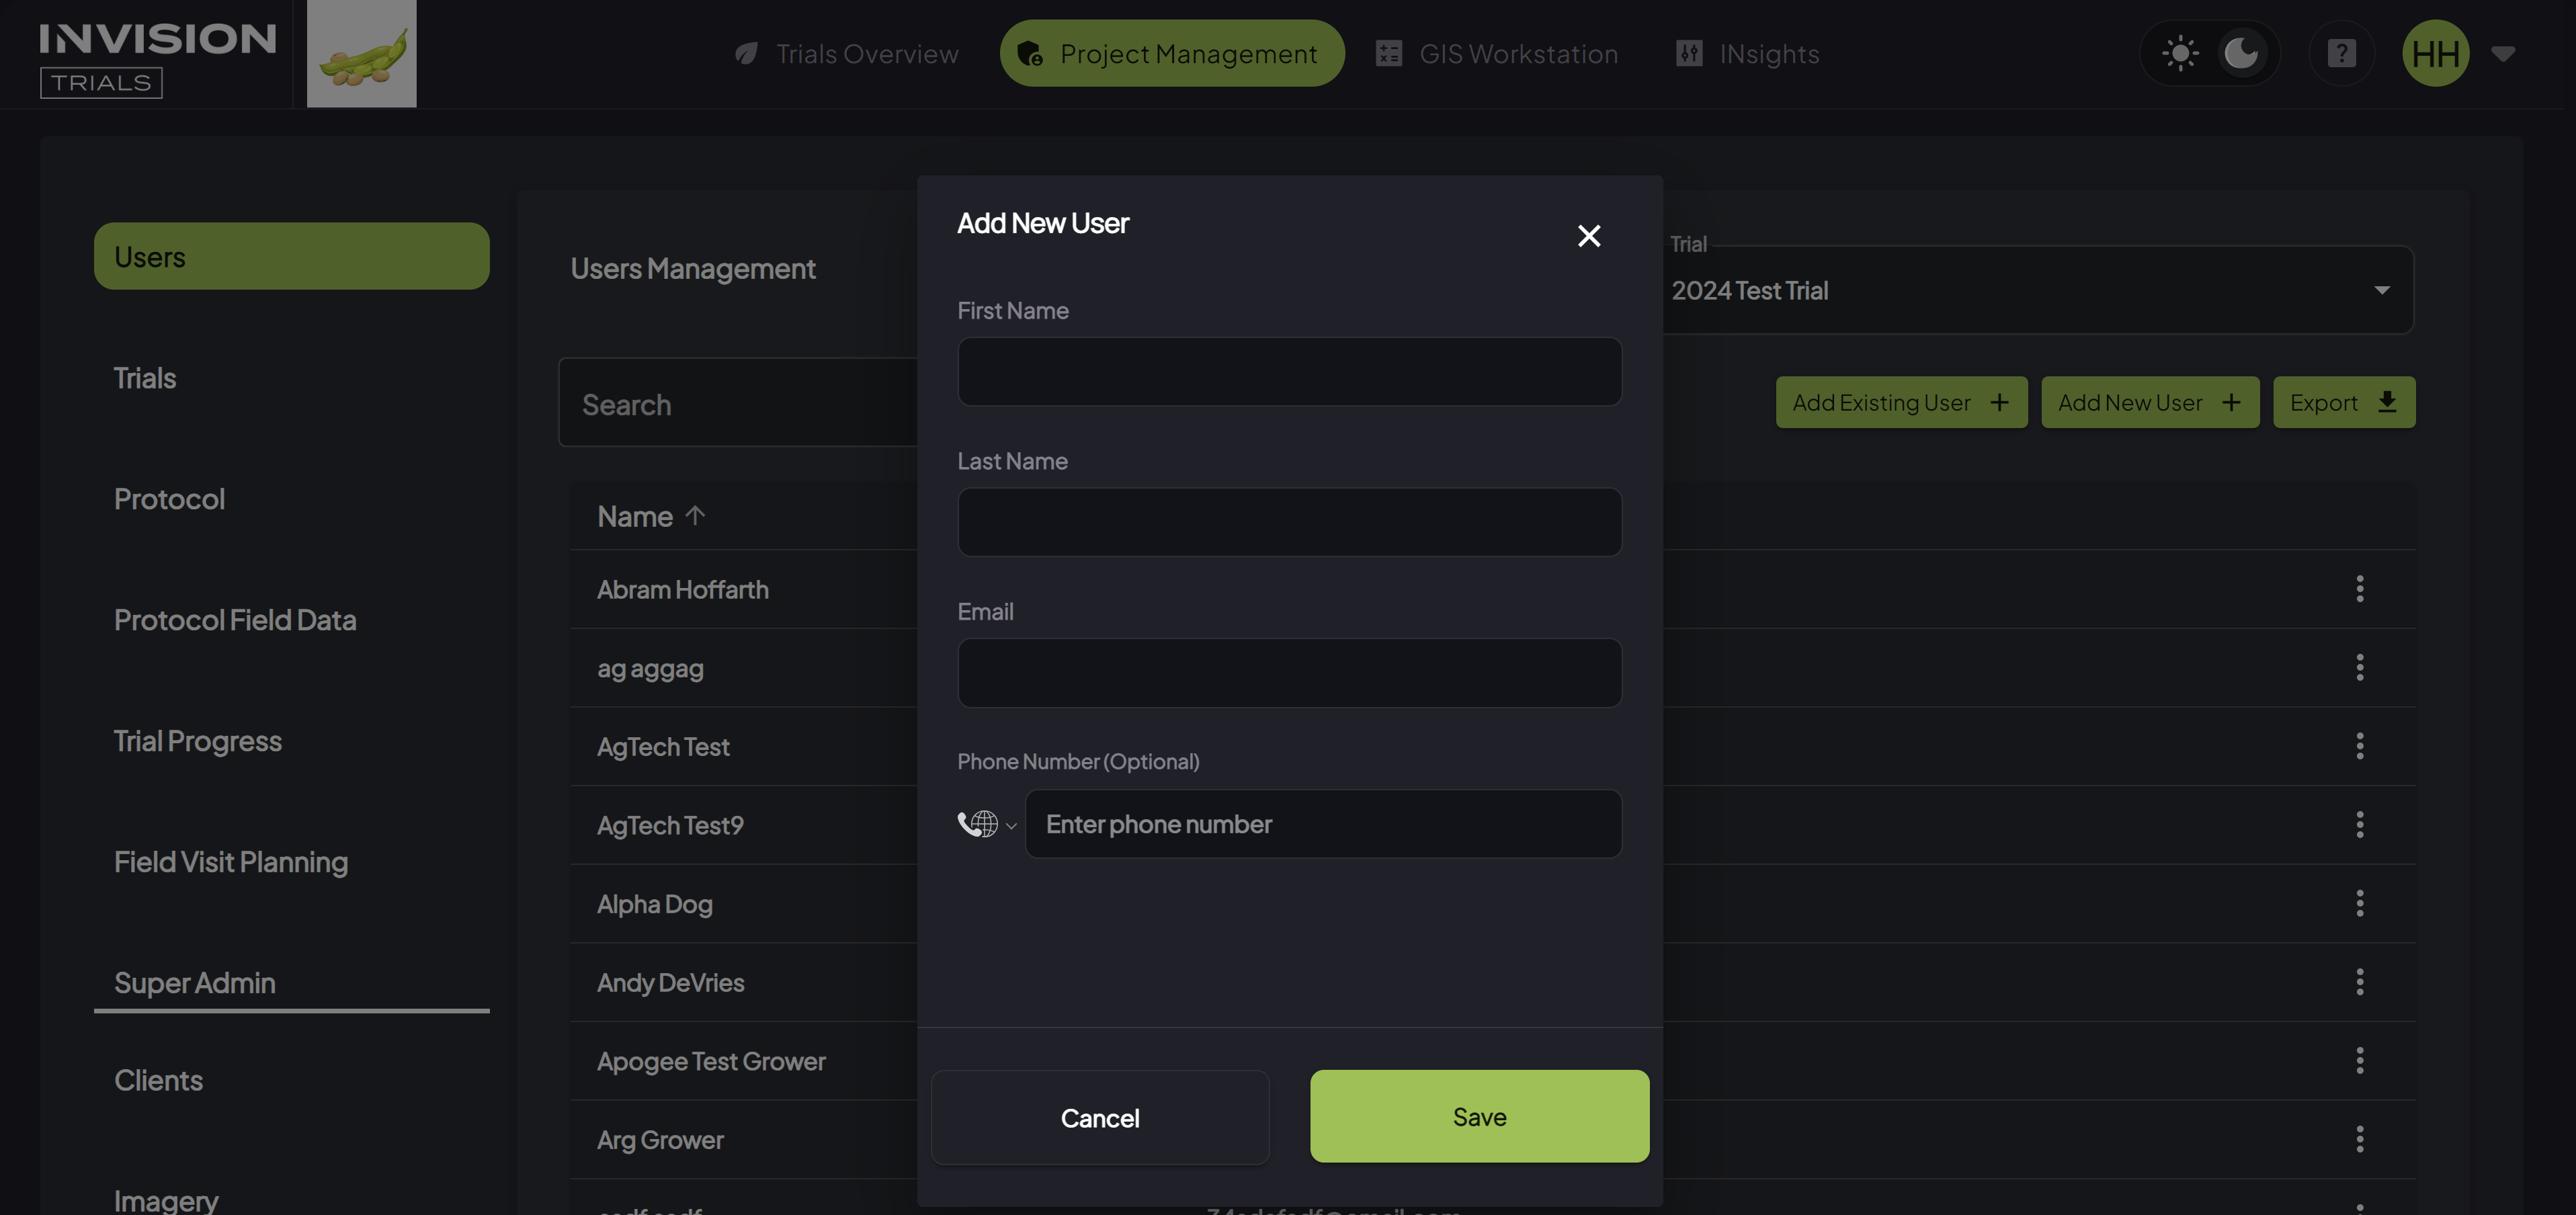
Add New User
- Choose Add New User if you need to add someone to the INVISION system that's never used it before.
-
The Add New User button will pull up a window where you will enter the new user’s details.

- Fill out the user's details, and click Save.

By following these steps, you'll successfully add users to your project, giving them access to the INVISION platform and an opportunity to begin managing and standardizing geospatial agronomic data for your agricultural trials.
For additional help, follow along with this video demonstrating how to add users to a project: