How To Create a Trial Protocol
Guide to Creating a Trial Protocol
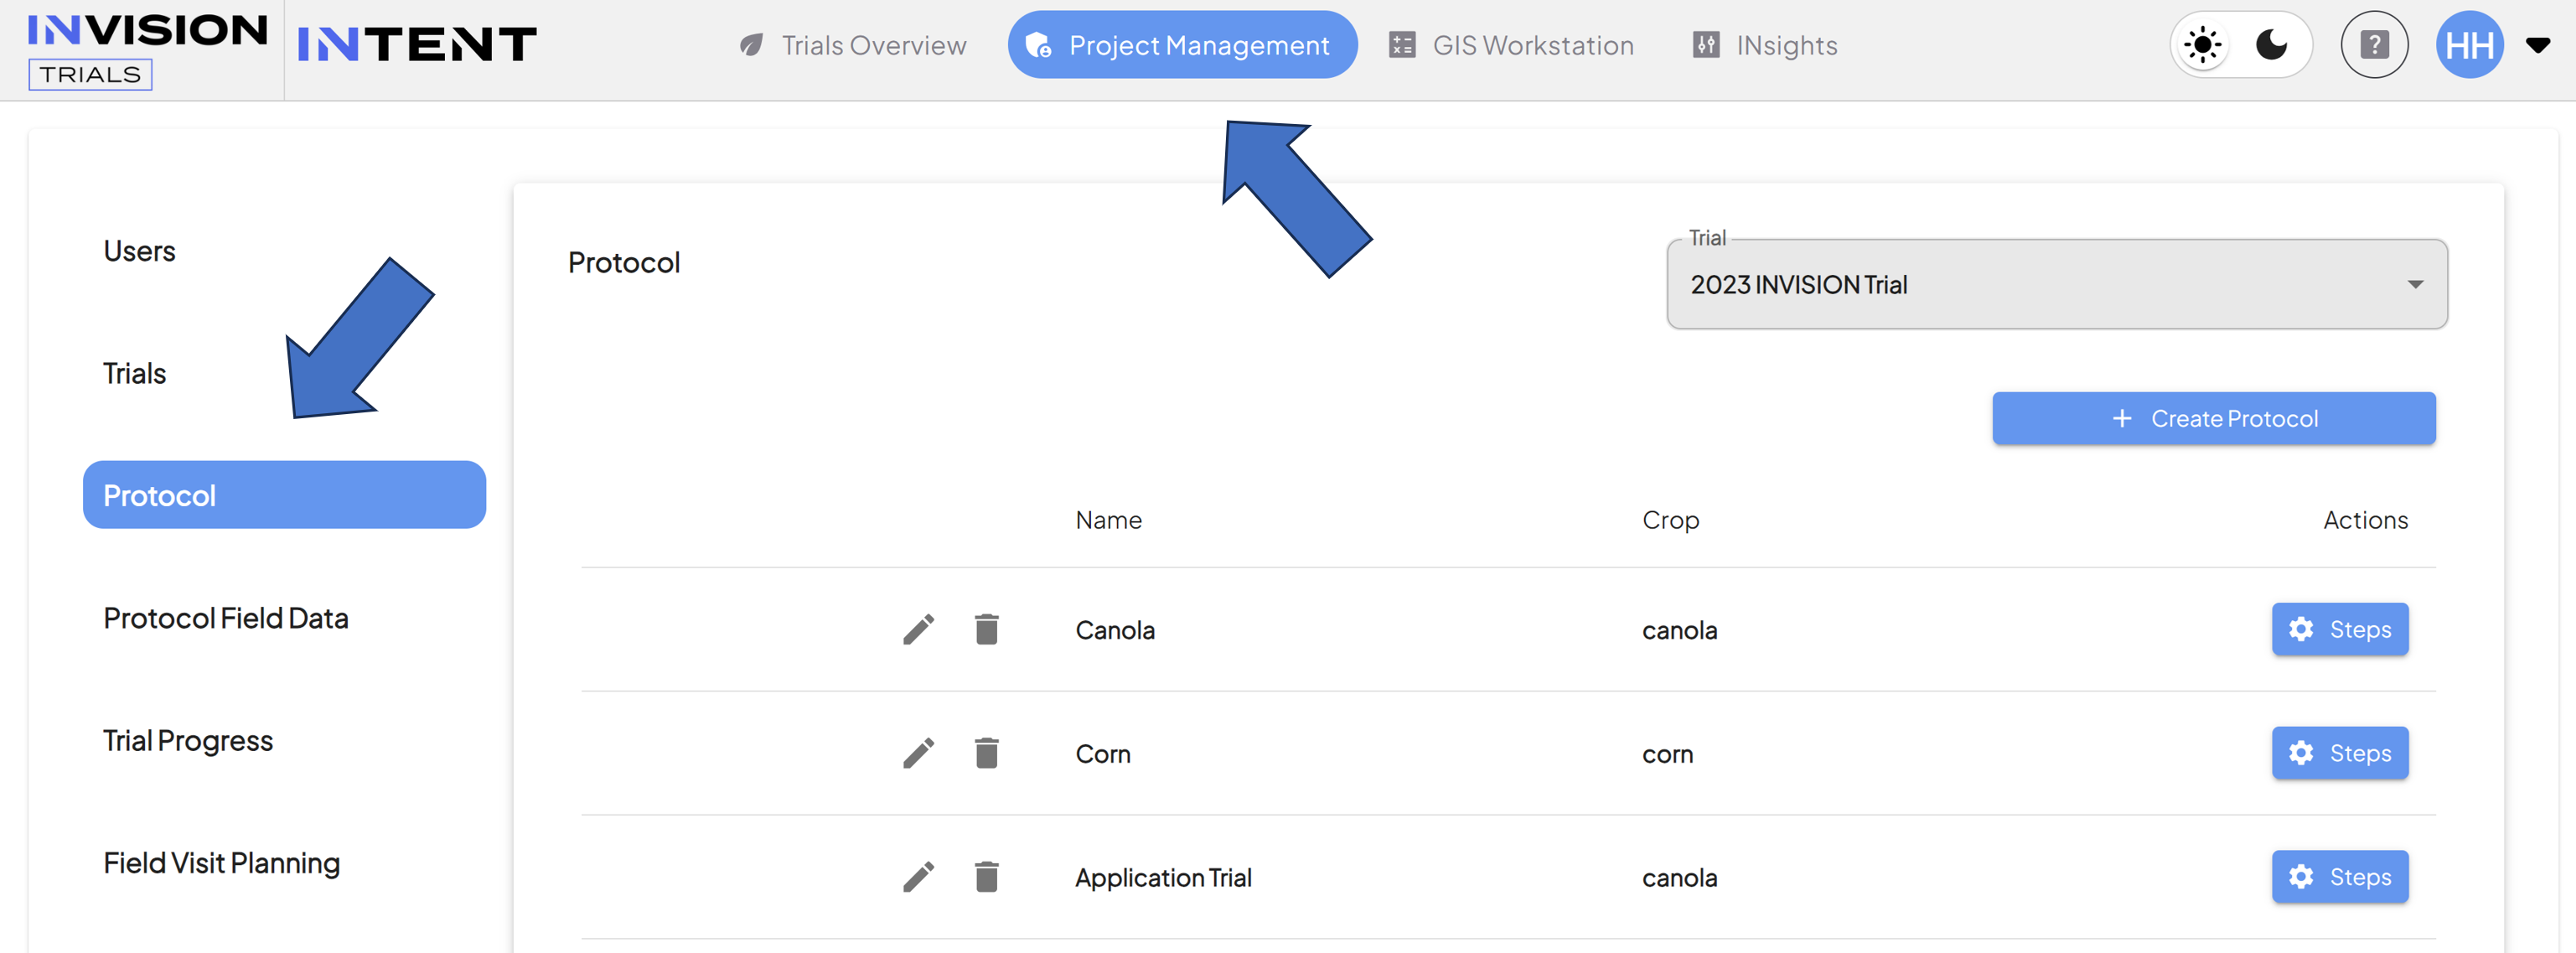
- Navigate to the Protocol section of the Project Management tab
- From the Admin tab, select Protocol from the left panel.

- From the Admin tab, select Protocol from the left panel.
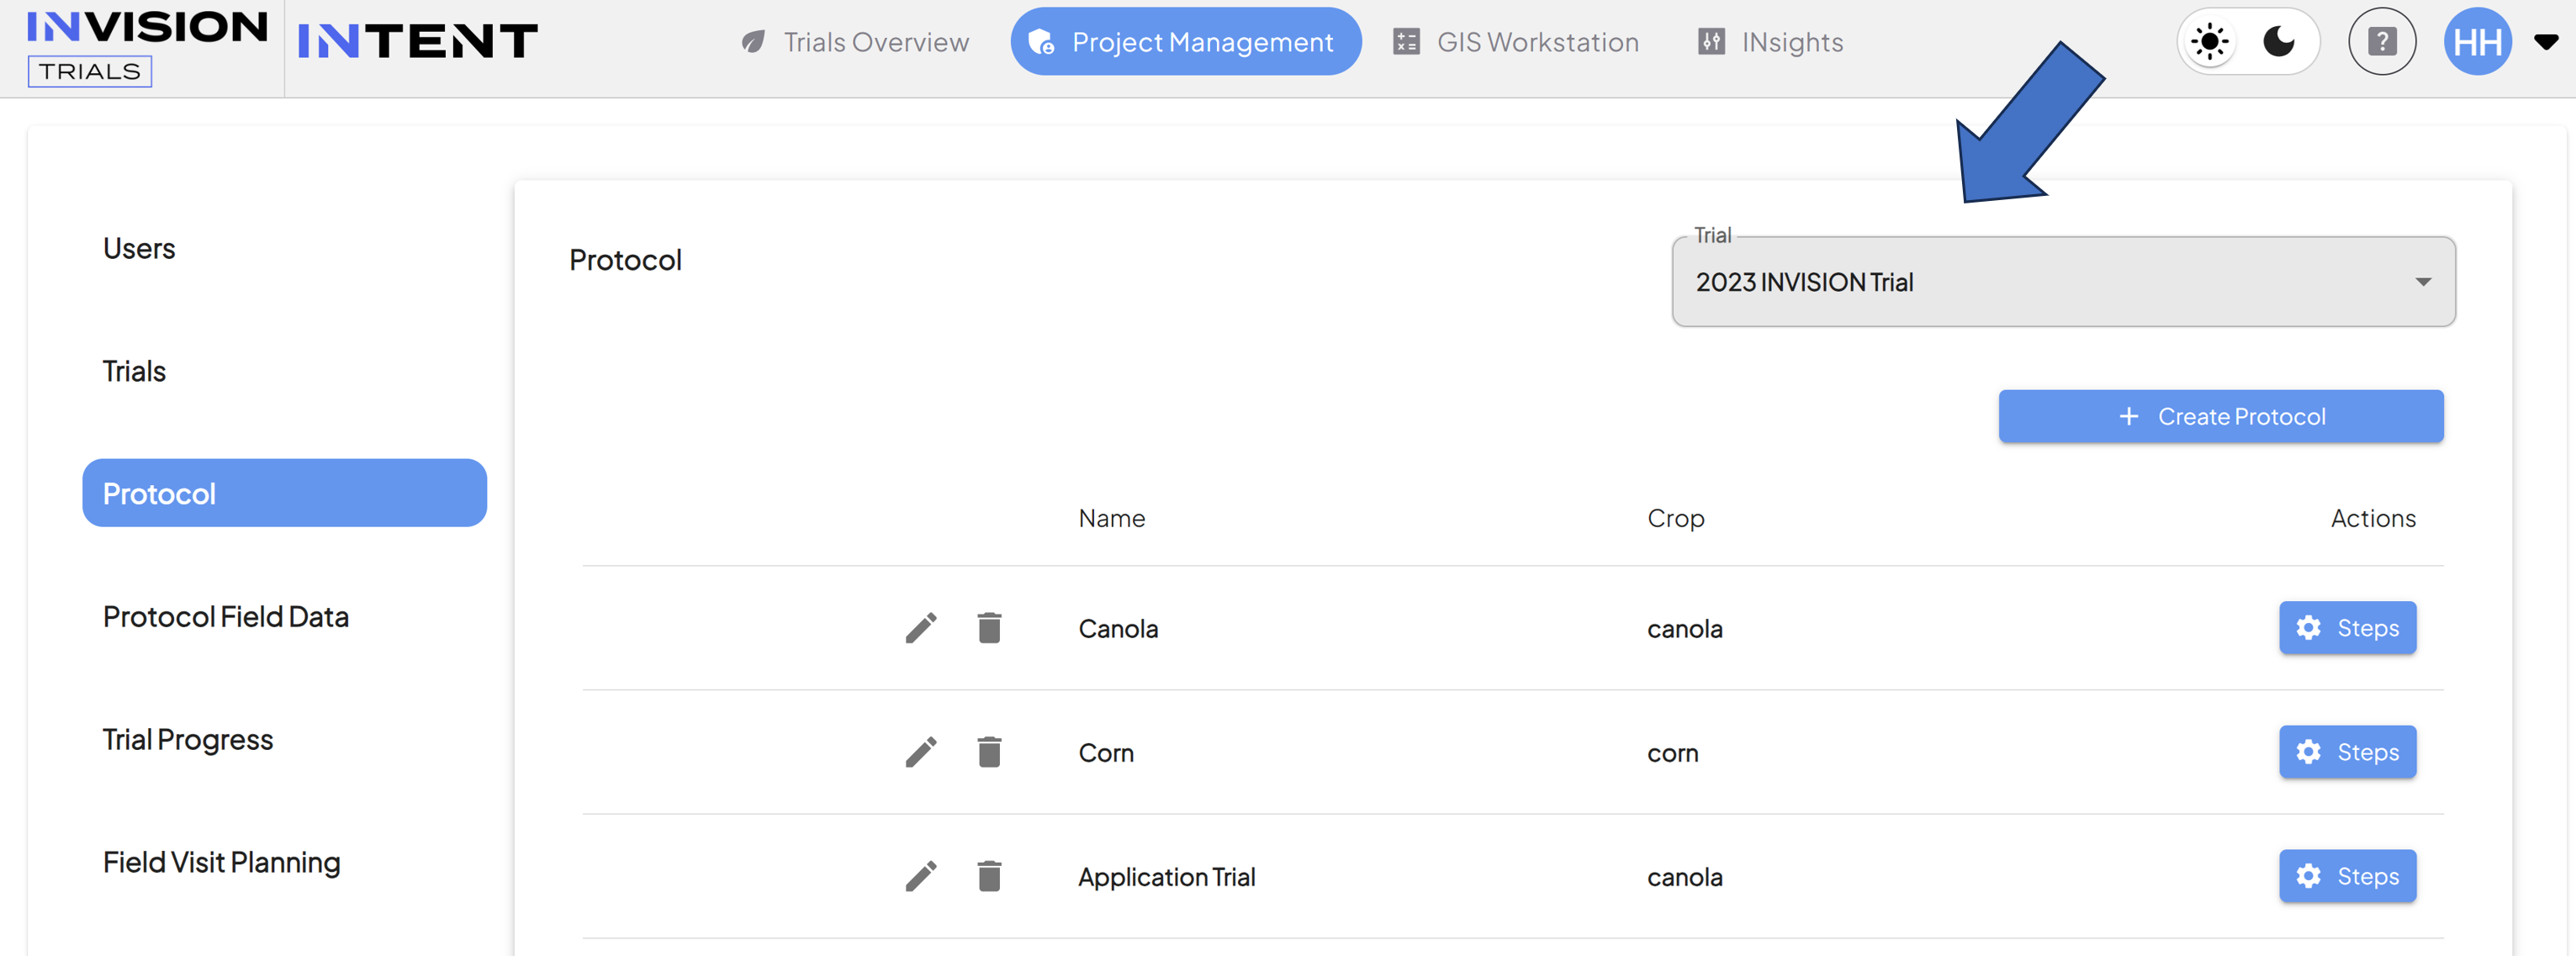
- Select a Trial
- Choose the correct Trial from the drop-down box.

- Choose the correct Trial from the drop-down box.
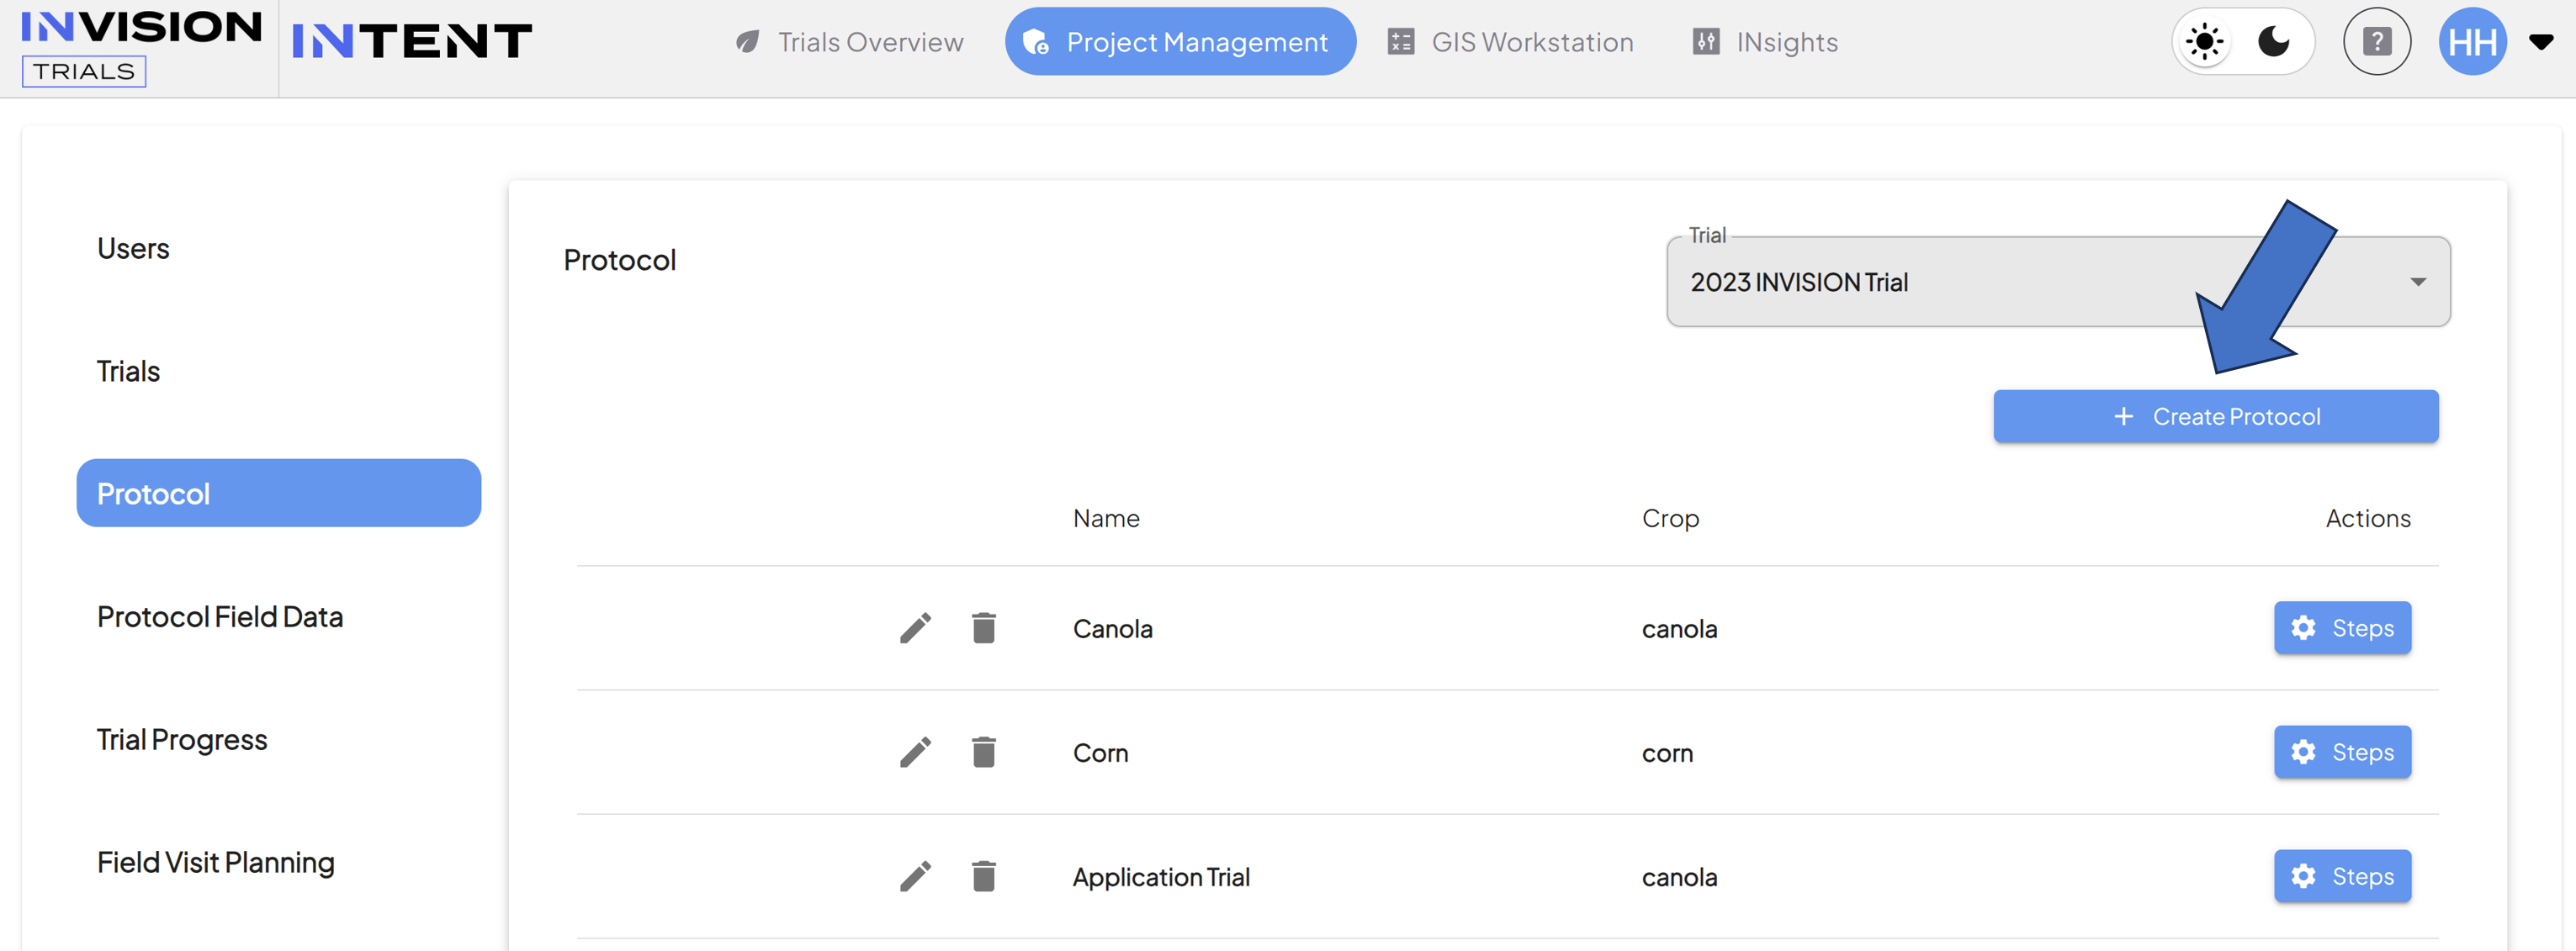
- Get Started on Your Protocol
- Click the Create Protocol button.

- Click the Create Protocol button.
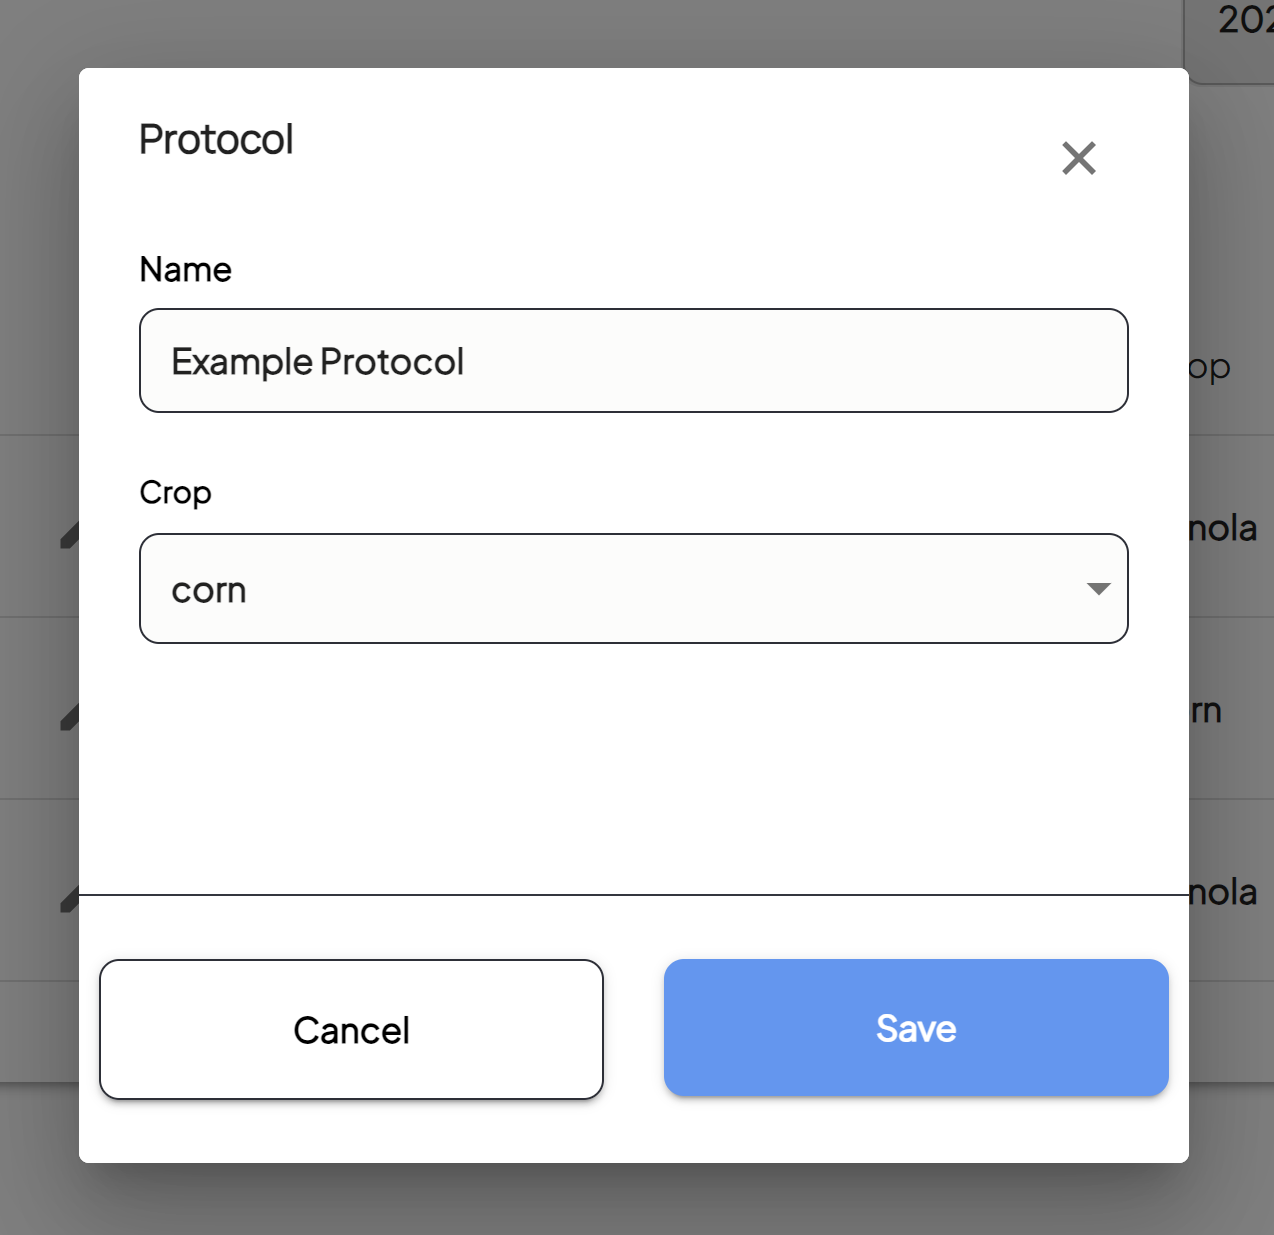
- Select and Name and Crop
- Name your Protocol, select your Crop, and click Save

- Before building out your Protocol, determine the objectives for your trial.
- Think about what kind of data points you need to collect and how you want to collect them.
- You may also have multiple protocols for a single trial.
- Name your Protocol, select your Crop, and click Save
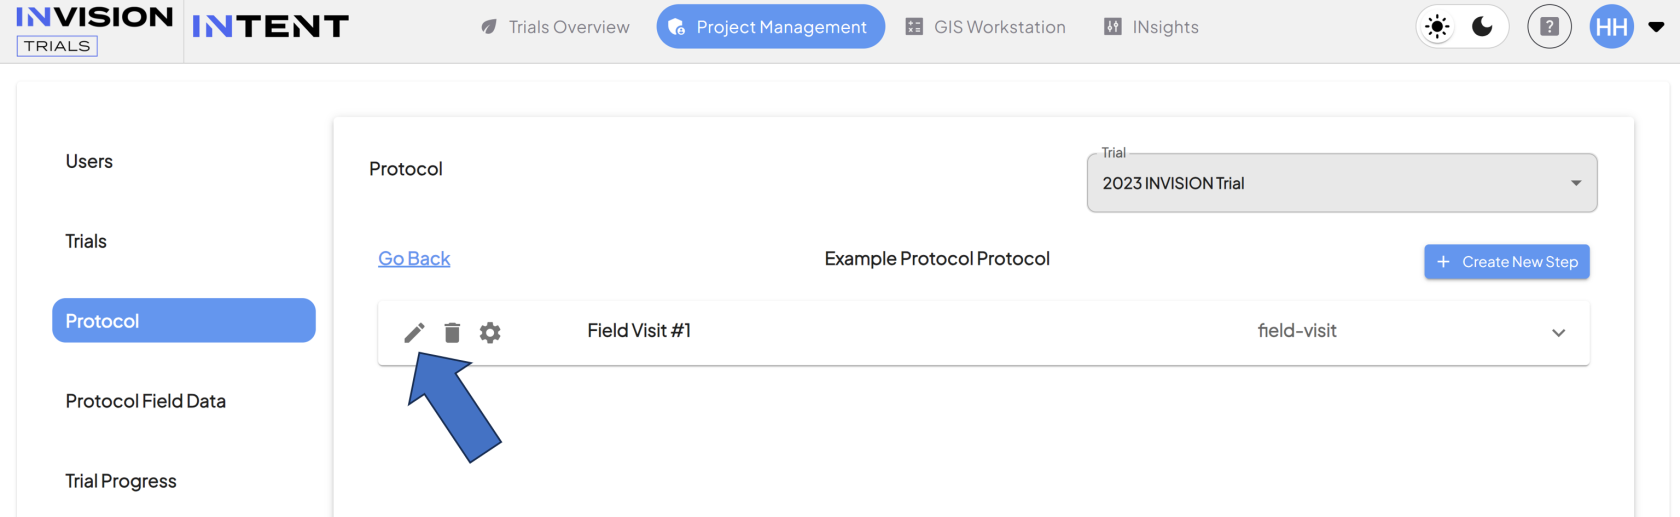
- Create the Steps For Your Protocol
- Once you’re ready to get started, click on the Steps button to the right of the trial

- Click Create New Step to add your first step to your protocol.
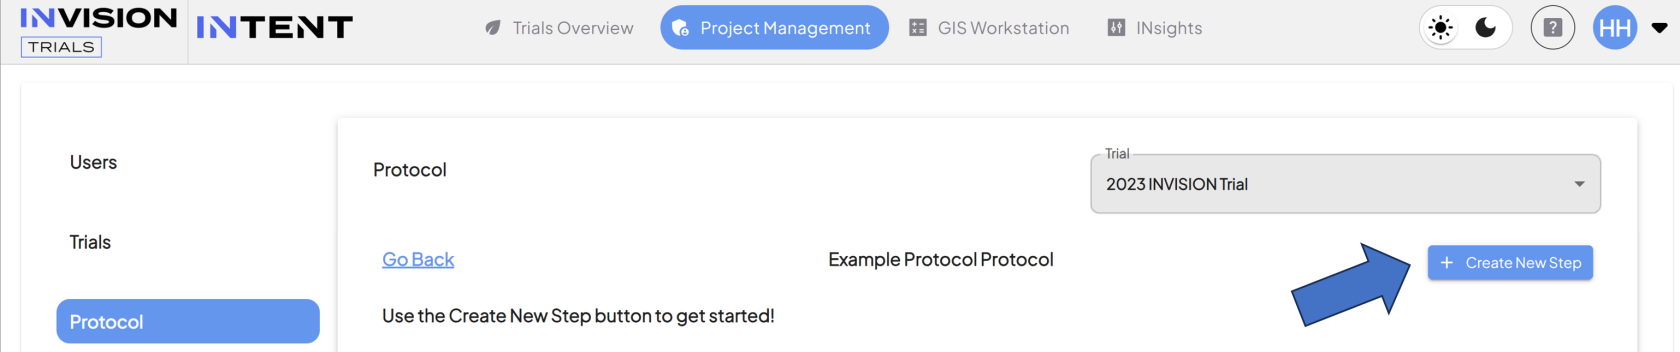
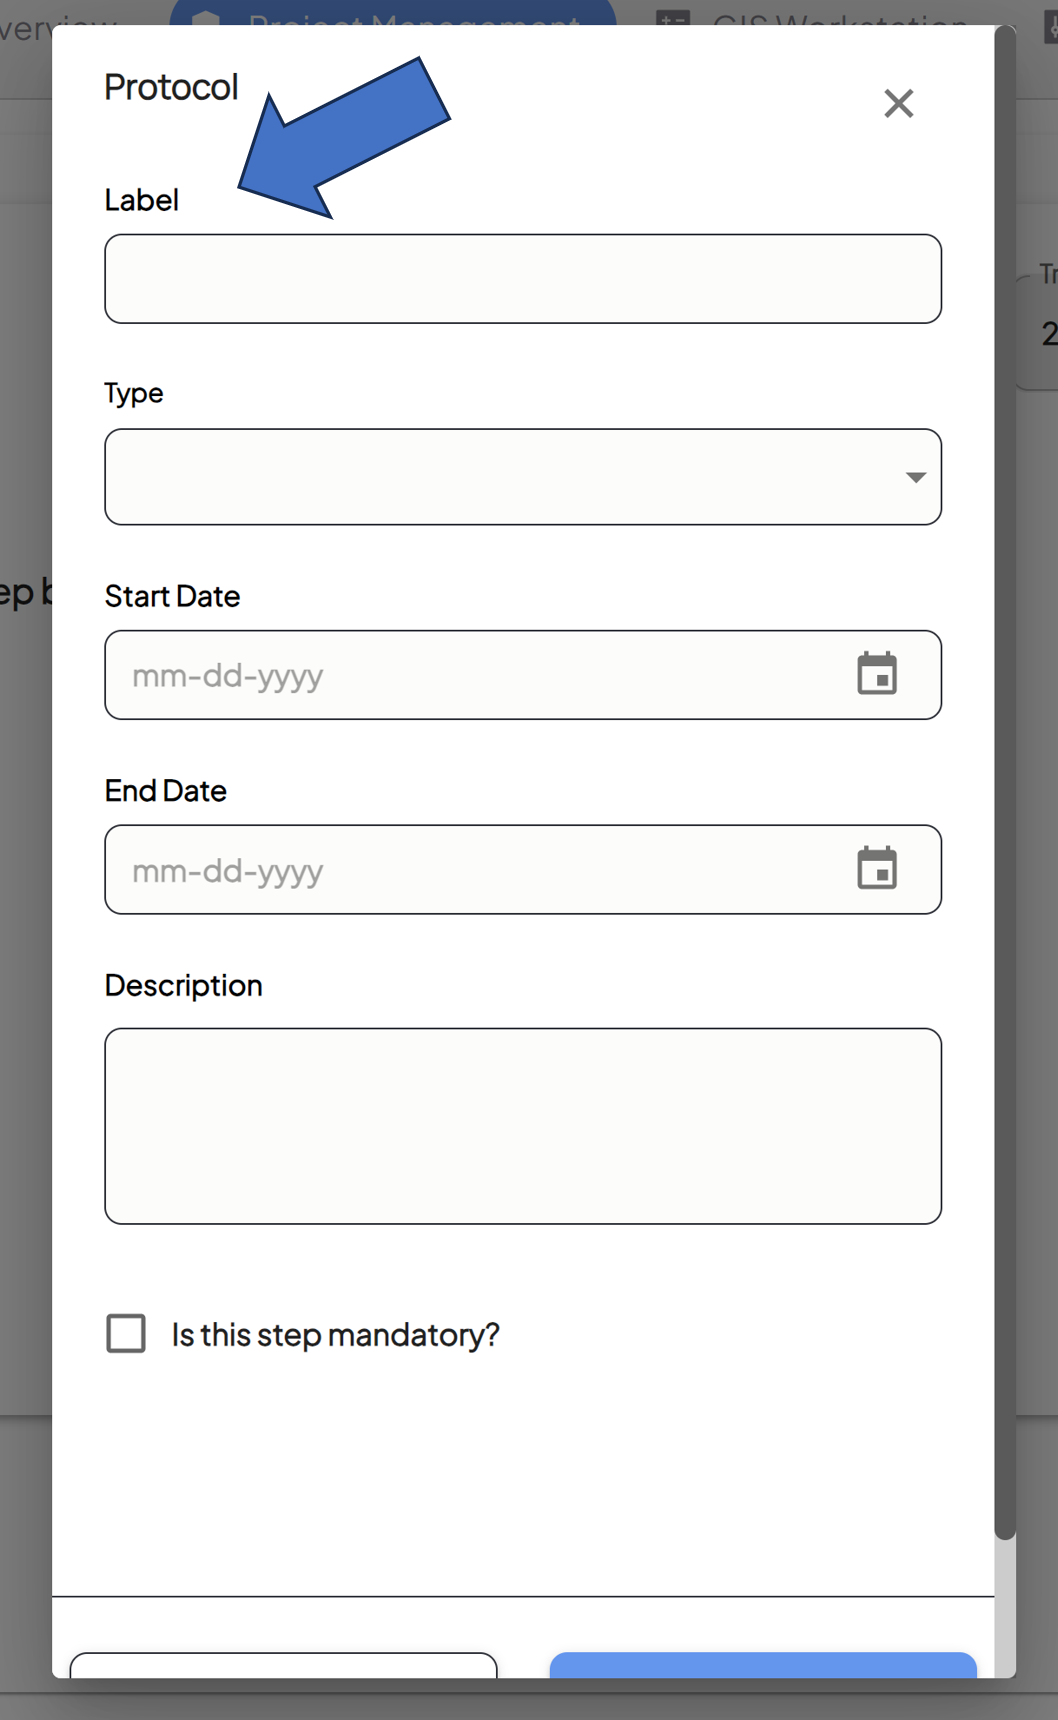
- A popup will appear where you can fill out all of the details for your protocol step.
- Once you’re ready to get started, click on the Steps button to the right of the trial
- Name Your Protocol Step
- Fill out the Label field to name your protocol step.

- This label is what identifies the protocol step in View Fields.
- Fill out the Label field to name your protocol step.
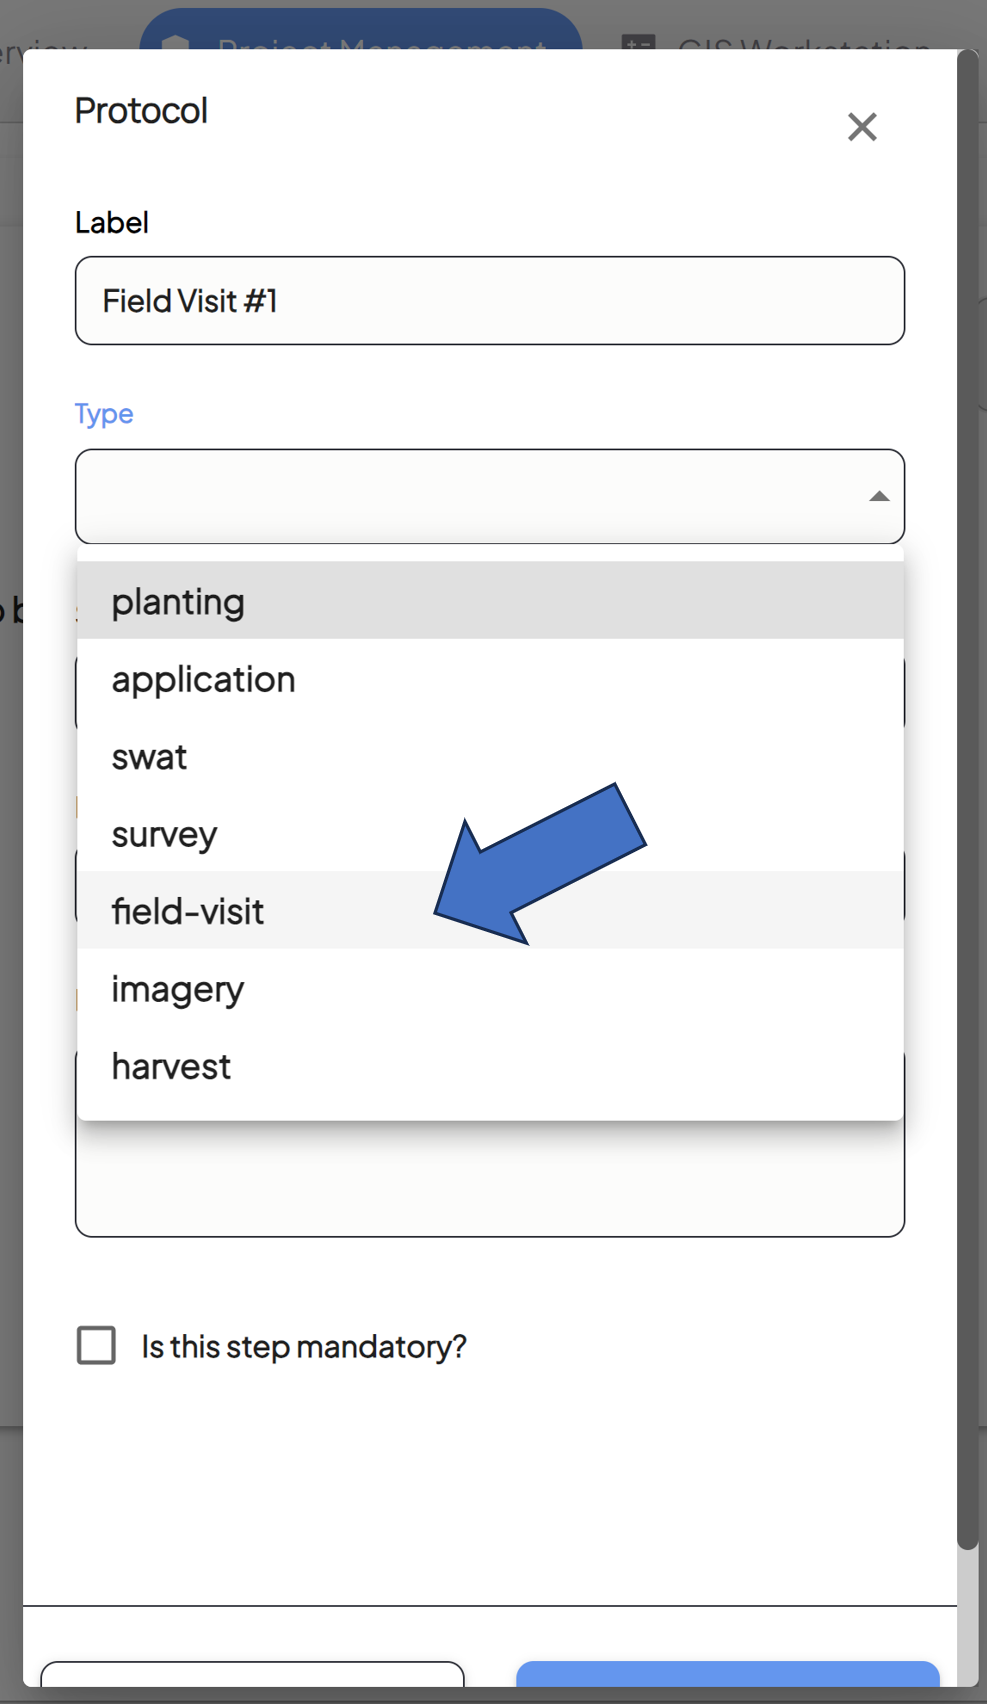
- Determine the Type of Step
- Choose the Type from one of the 6 different pre-built step types:
- Plating
- Application
- Survey
- Field-Visit
- Imagery
- SWAT (Soil Water and Topographical maps)

- Choose the Type from one of the 6 different pre-built step types:
- Set the Start Date
- Select the date on which this step will become available to your users.
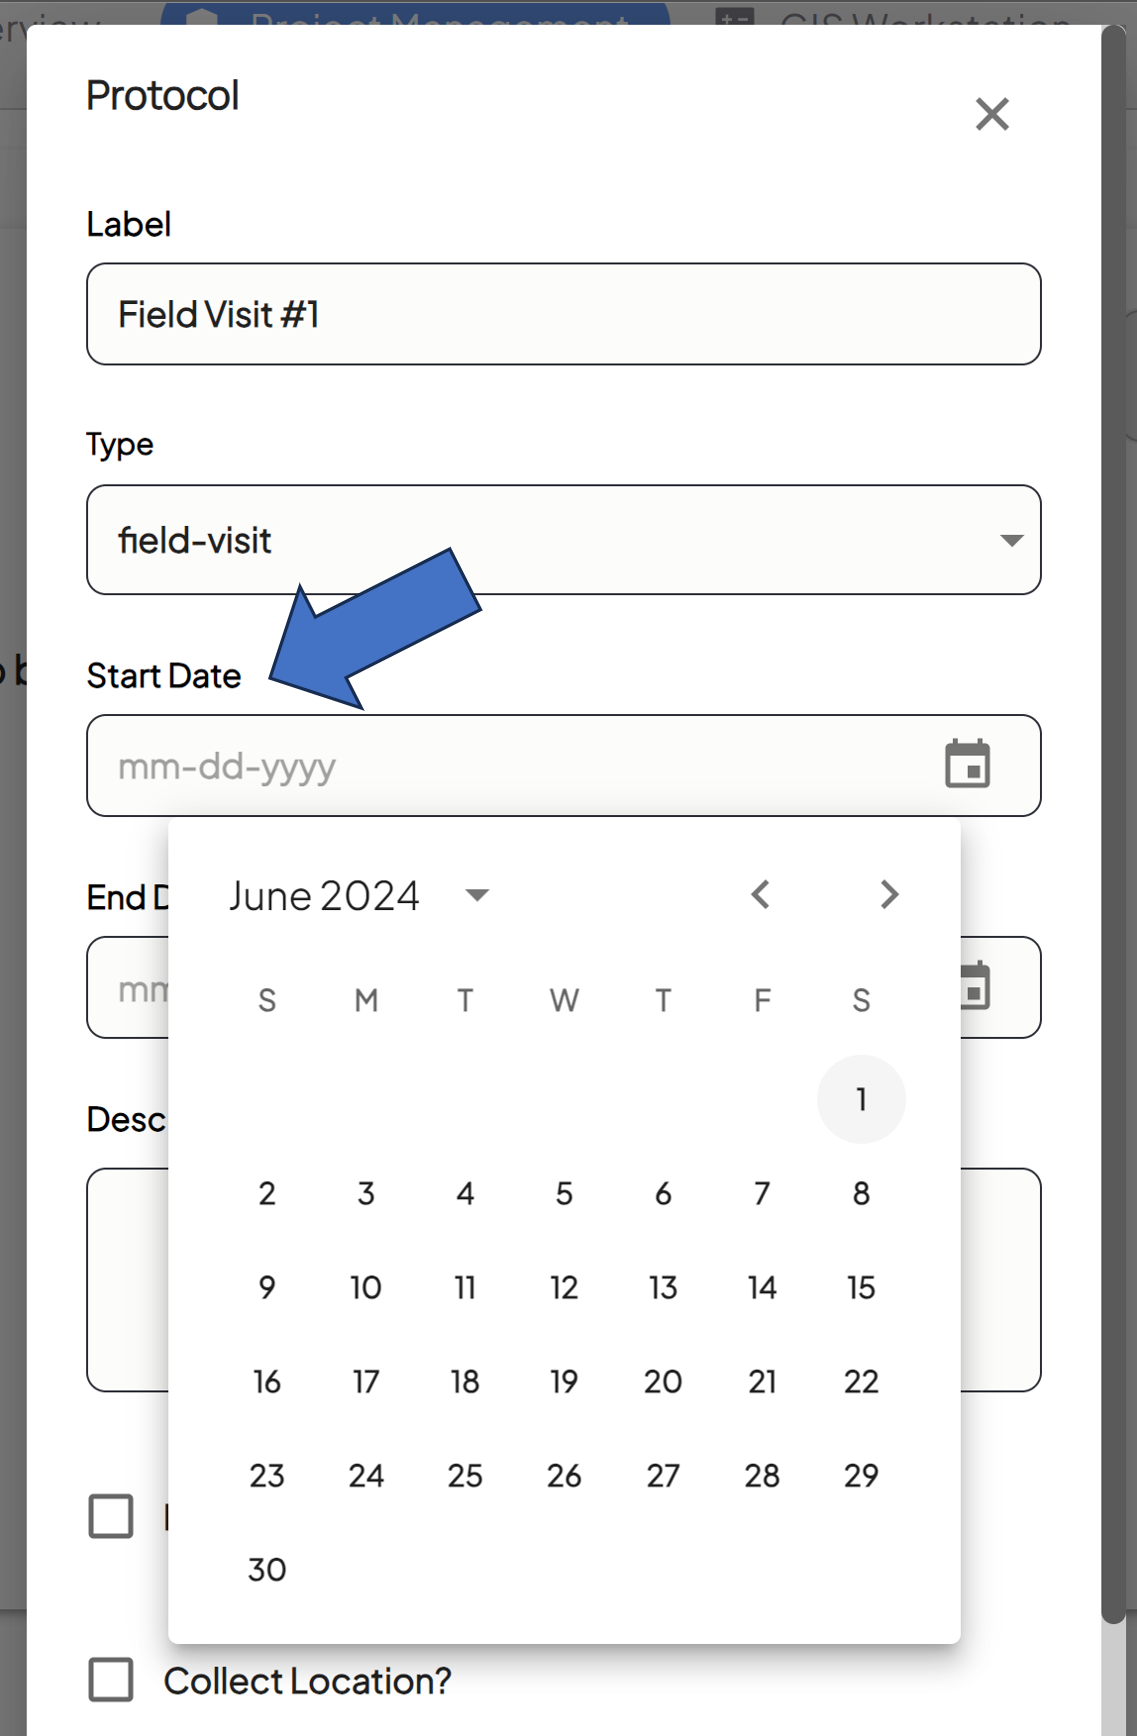
- Select the date on which this step will become available to your users.
- Set the End Date
- Select the date on which this step becomes unavailable to your users.
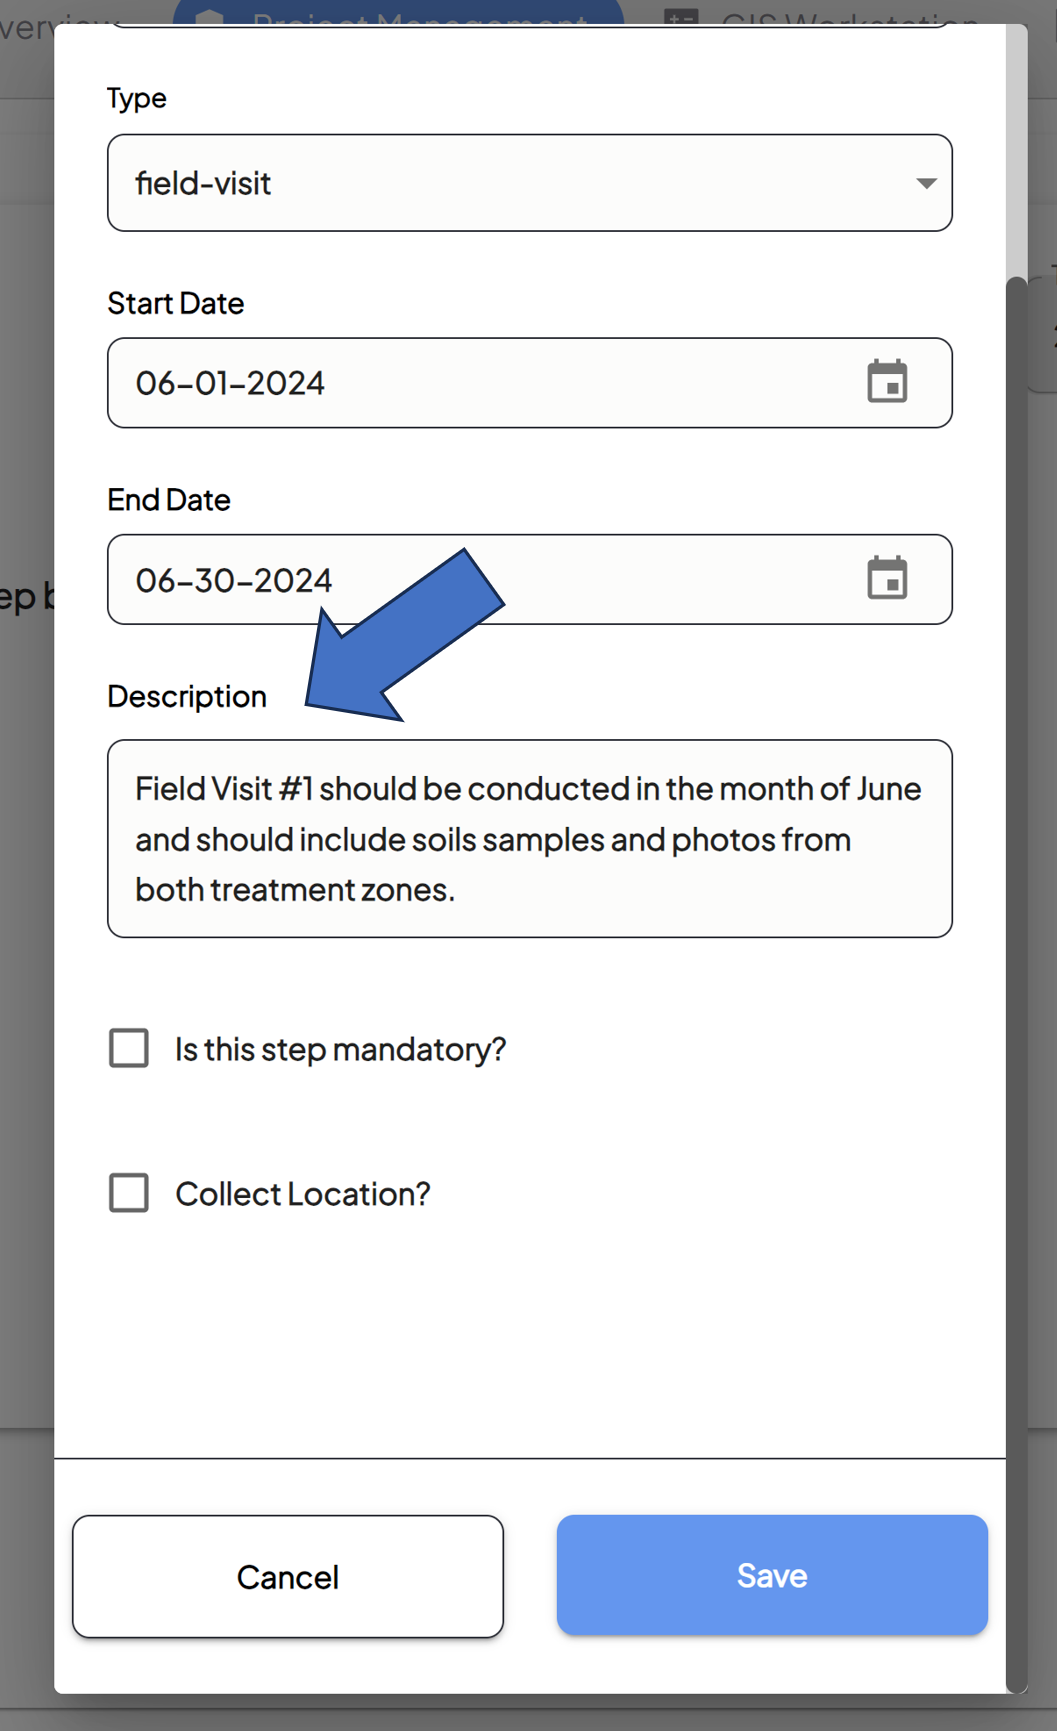
- Fill Out the Description
- Provide a description for this protocol step.

- The description can be found later in View Fields.
- Provide a description for this protocol step.
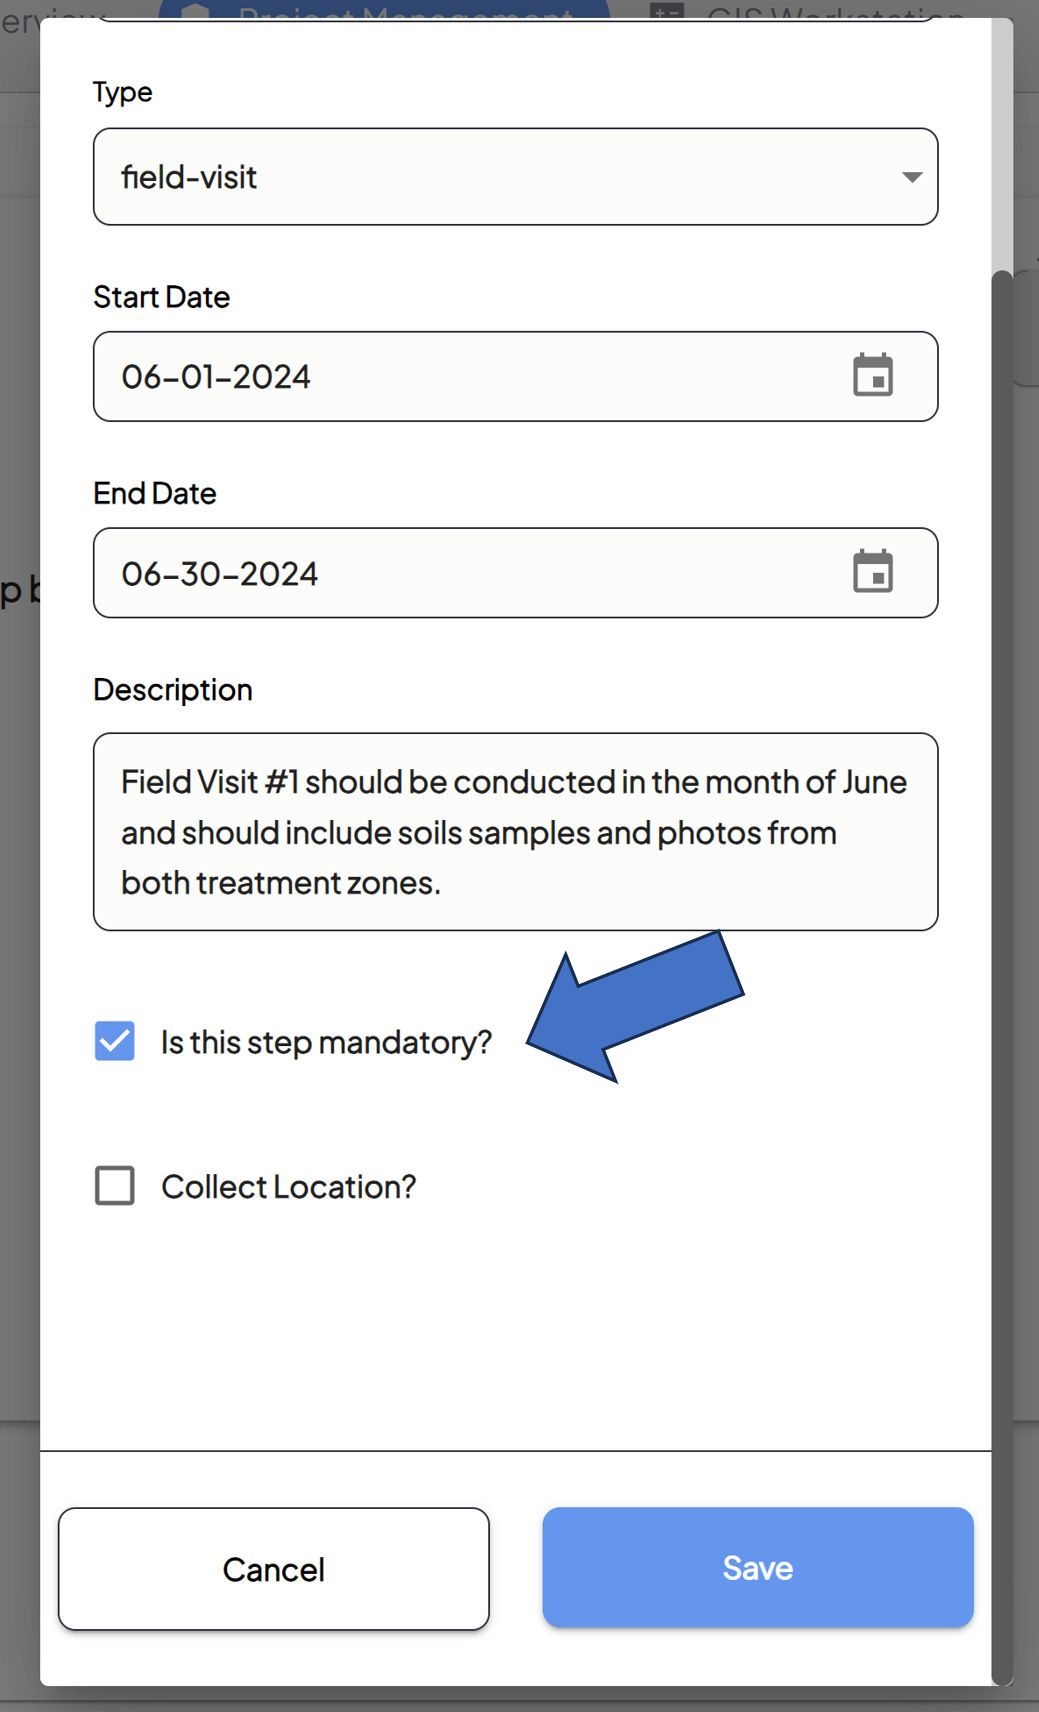
- Determine if the Step is Mandatory or Optional
- Check the following box if this protocol step should be mandatory.
- Mandatory boxes are denoted with an asterisk in View Fields.

- Mandatory boxes are denoted with an asterisk in View Fields.
- Protocol steps are defaulted as optional, unless this box is checked.
- Check the following box if this protocol step should be mandatory.
- Determine if Location Should Be Collected
- If the step you're creating is a field-visit type, you can check this box so that location is automatically captured when data is collected.
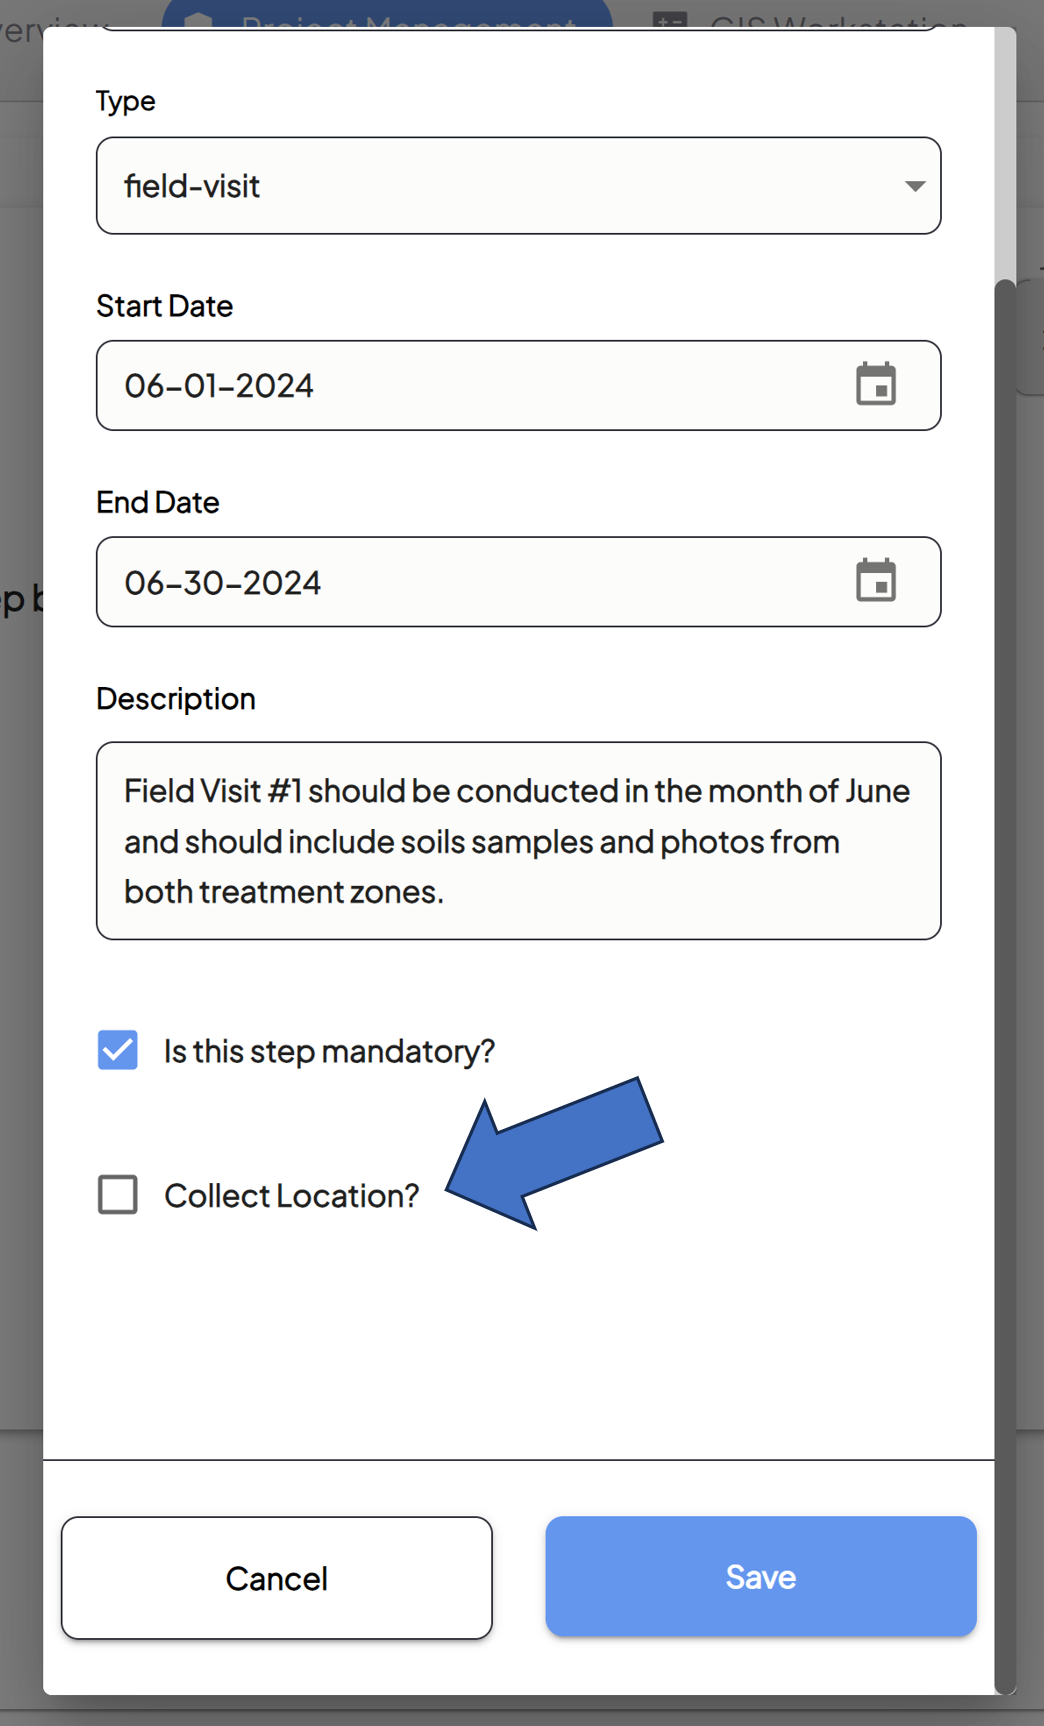
- If the step you're creating is a field-visit type, you can check this box so that location is automatically captured when data is collected.
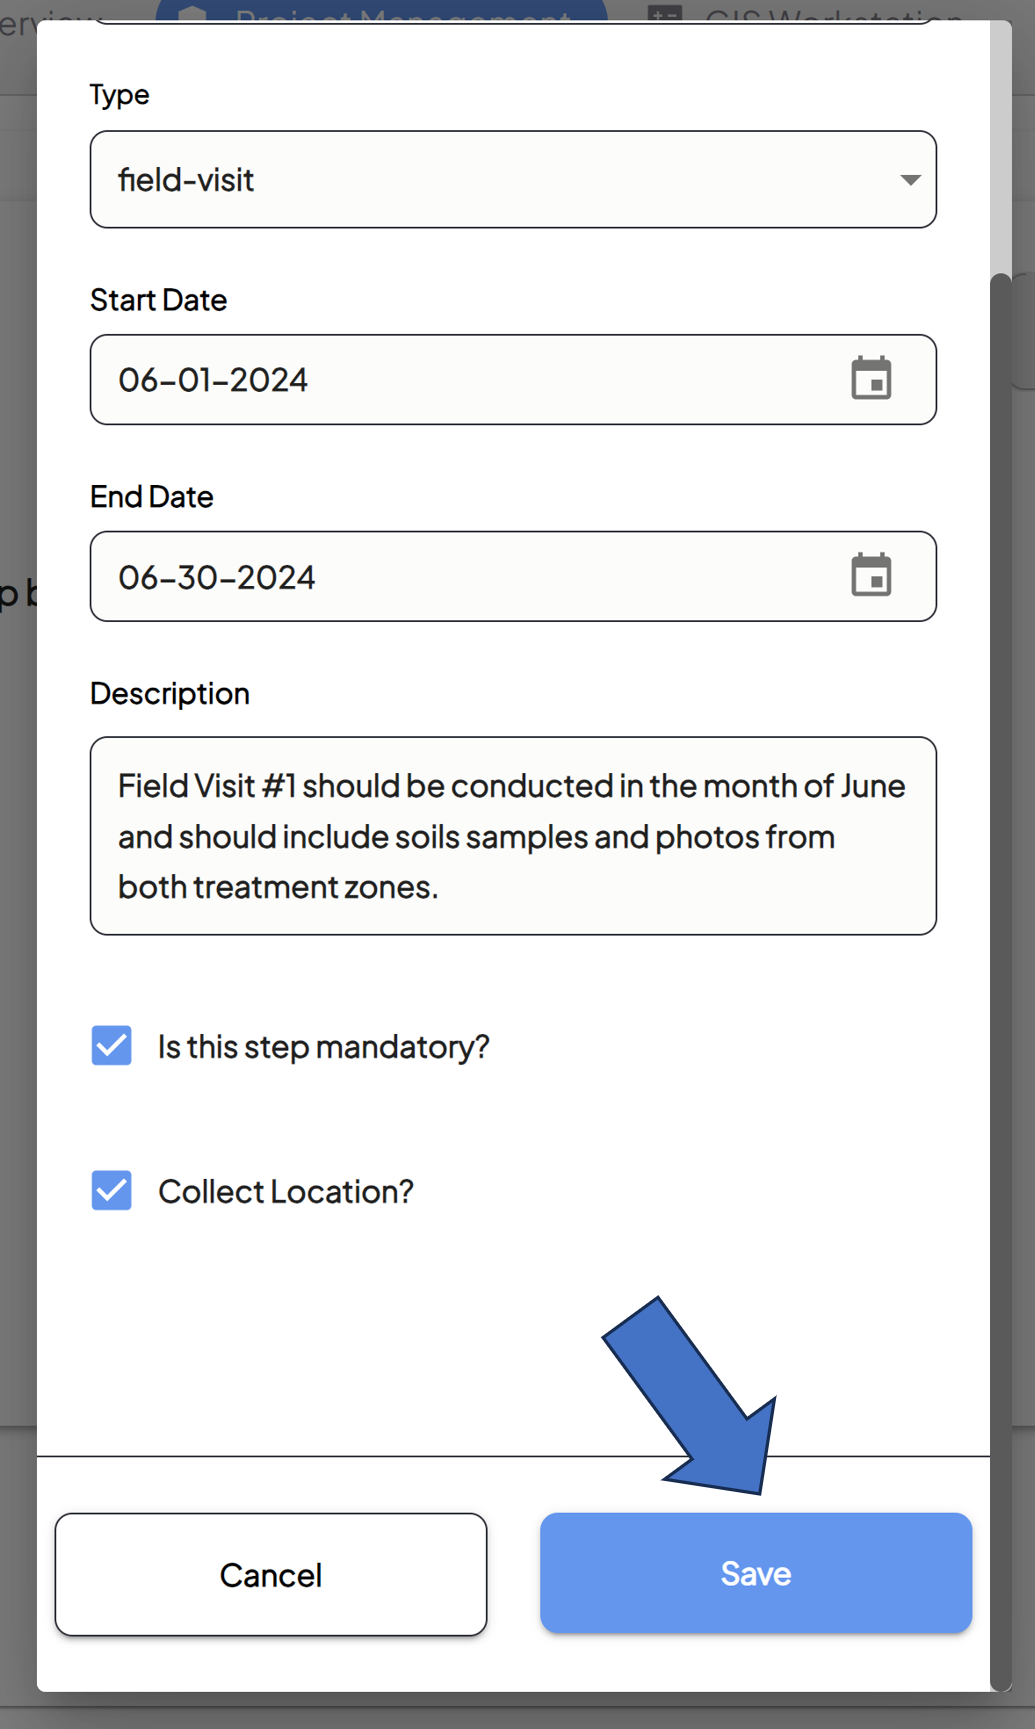
- Review and Confirm
- Review the information and click the Save button.
- This step will now appear in your Protocol. You can also edit the step if needed.
- Continue following these steps until your full Protocol has been defined, from beginning to end.
- You can return to the Protocol screen to Edit or Delete Protocol Steps that have been created by clicking on the icons to the left.
- Review the information and click the Save button.


For additional help, follow along with this video demonstrating how to setup a Trial Protocol: