How To Create a New Trial
Guide to Creating a New Trial
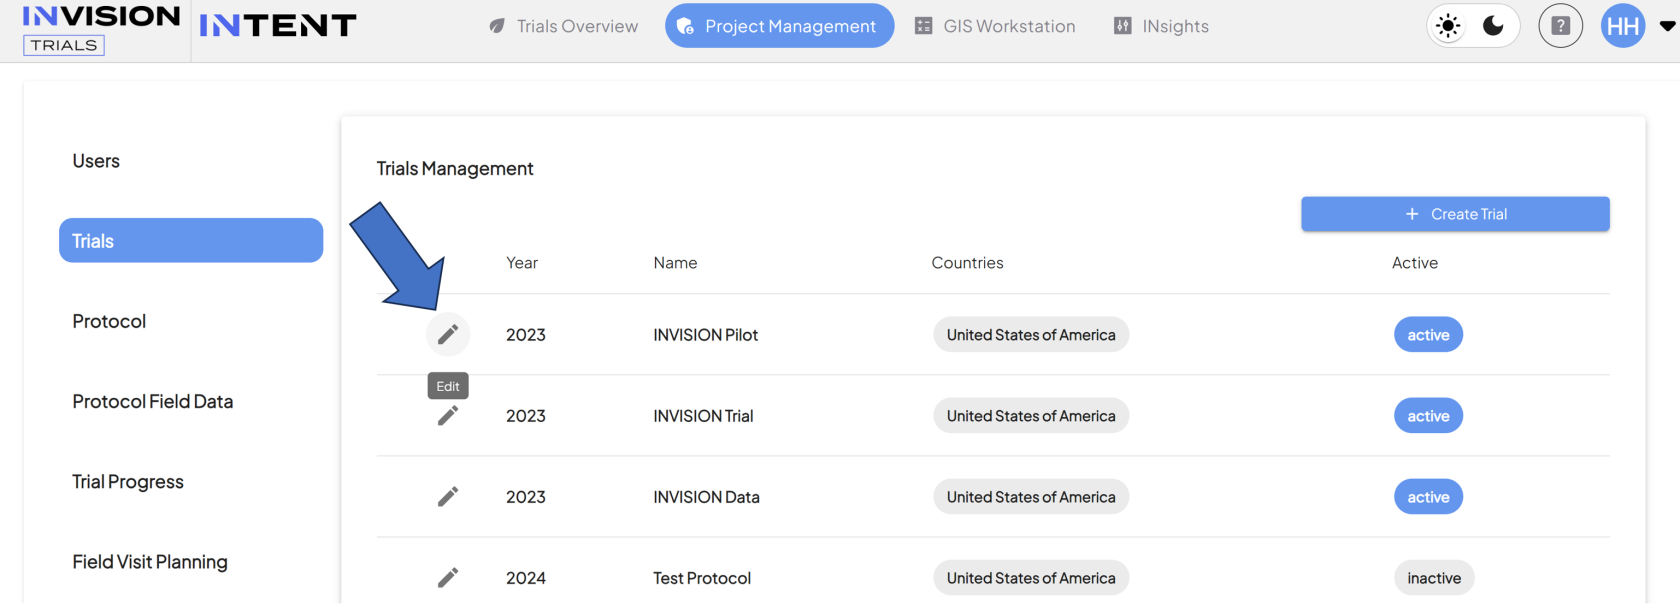
- Navigate to the Trials Section of Project Management
- From the Admin tab, select Trials from the left pane.
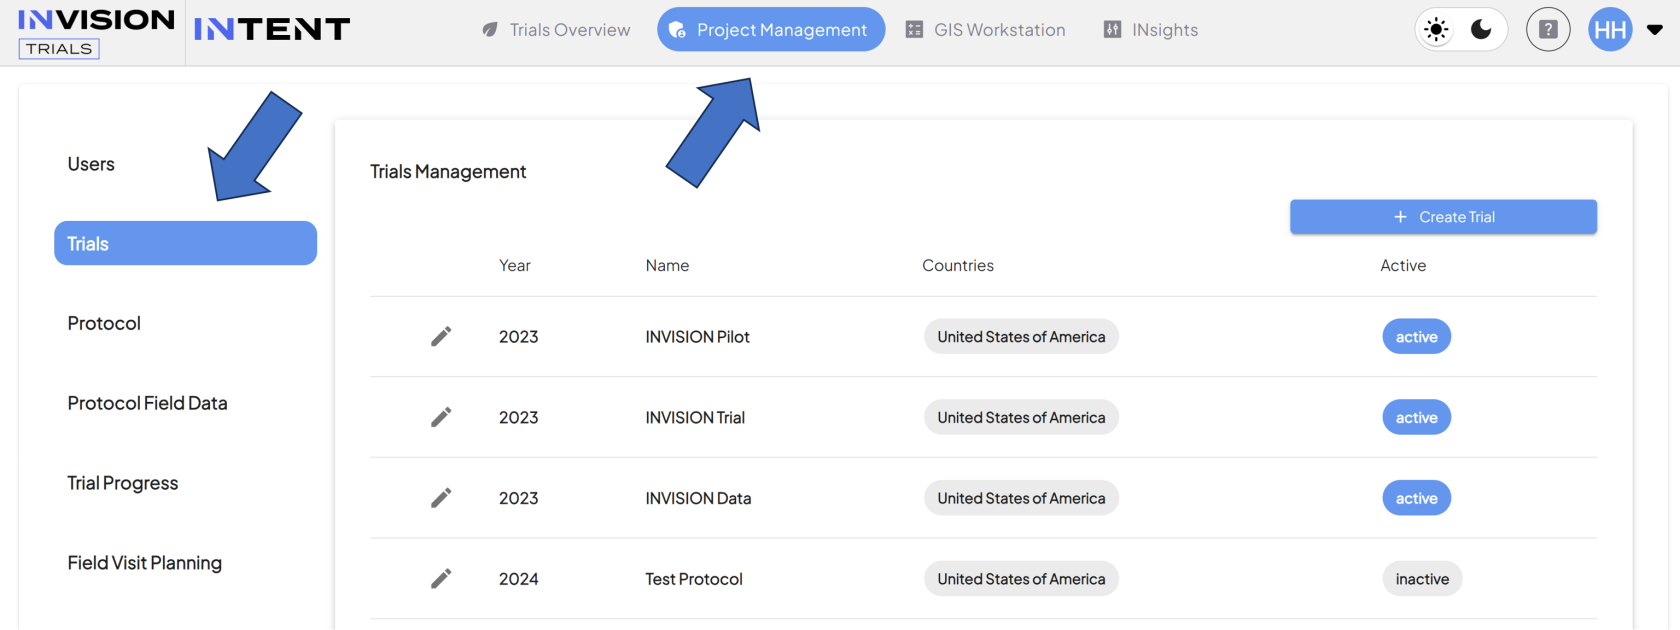
- From the Admin tab, select Trials from the left pane.
-
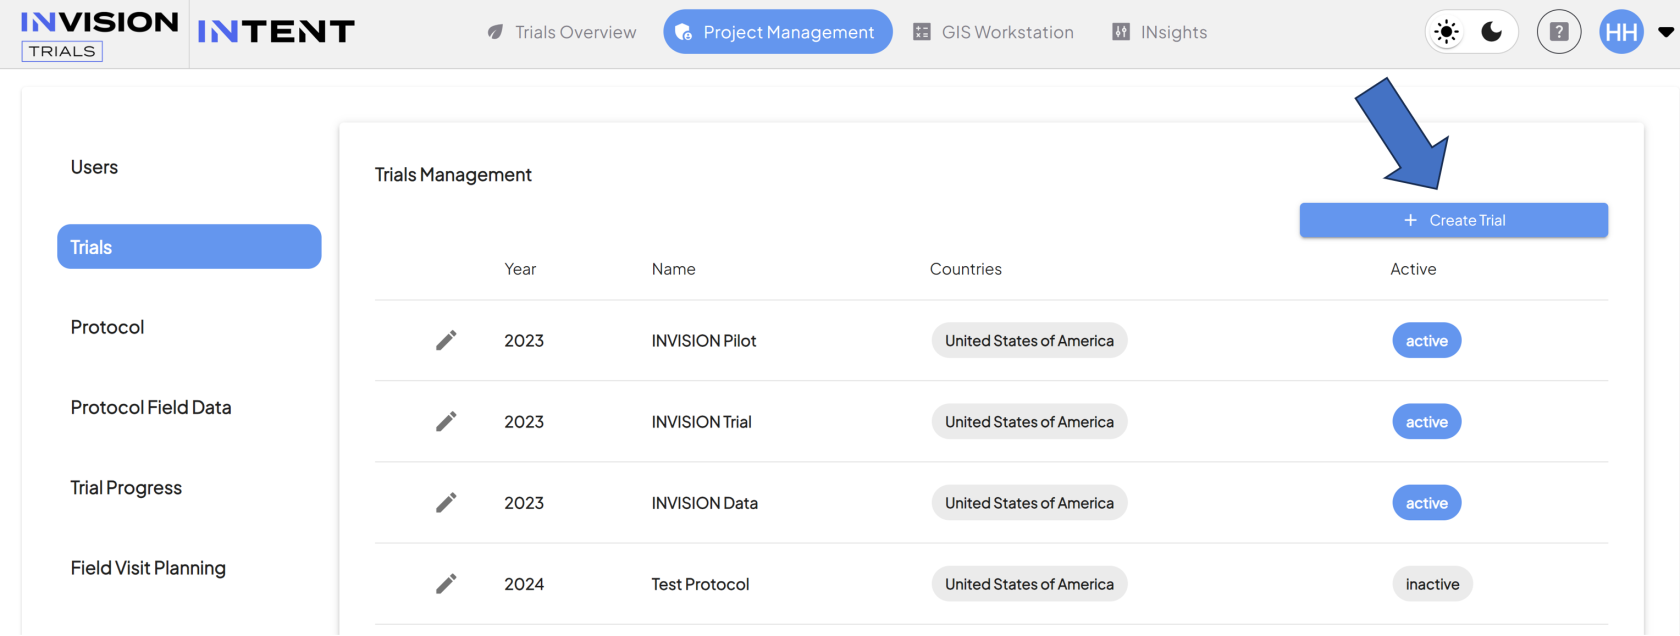
Create a New Trial
-
Click the Create Trial button.
-
-
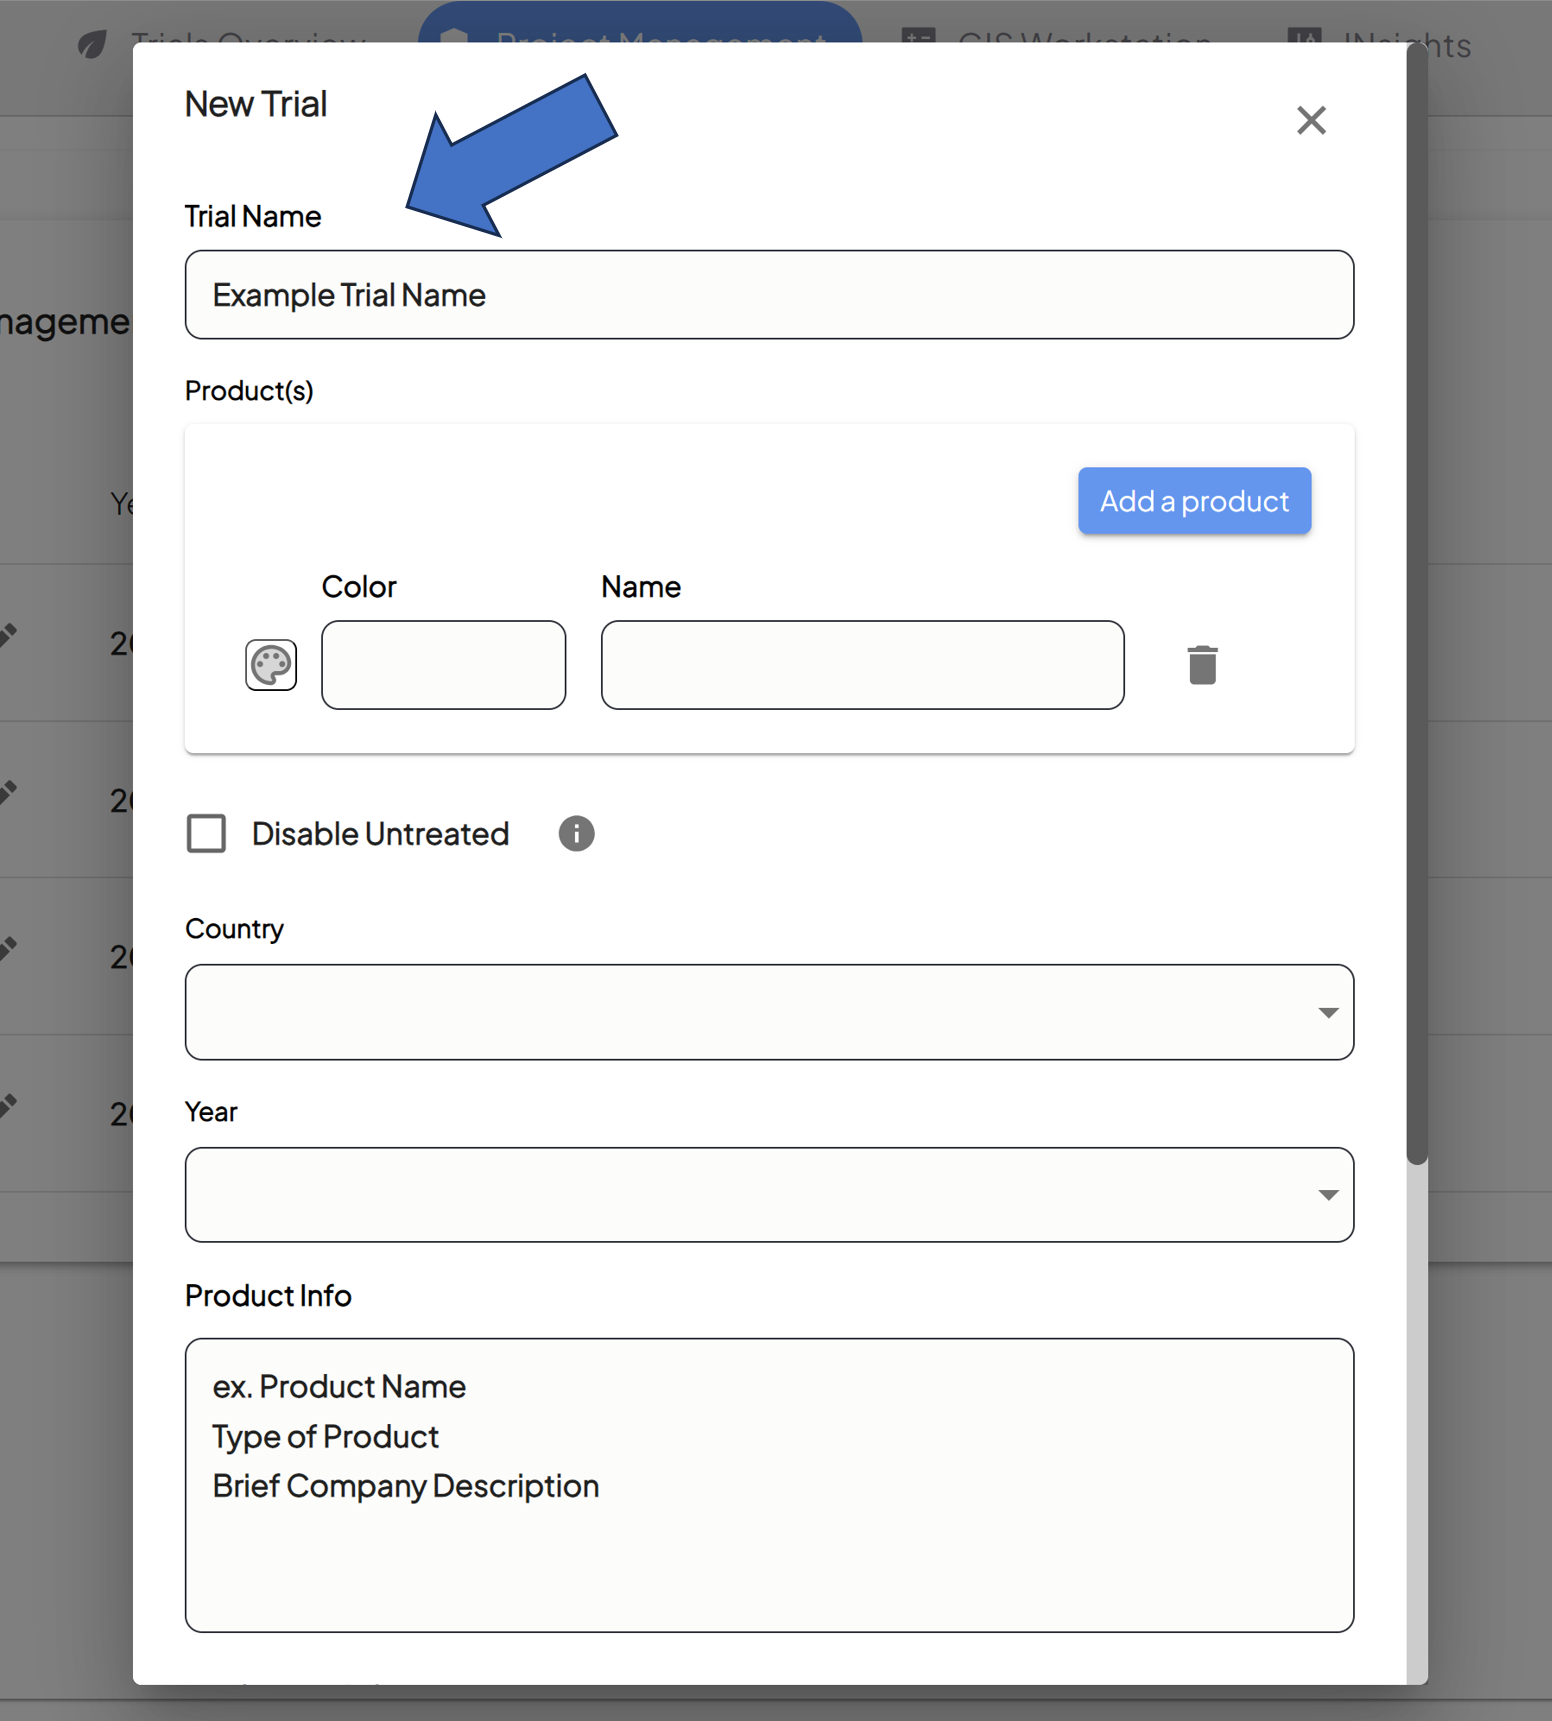
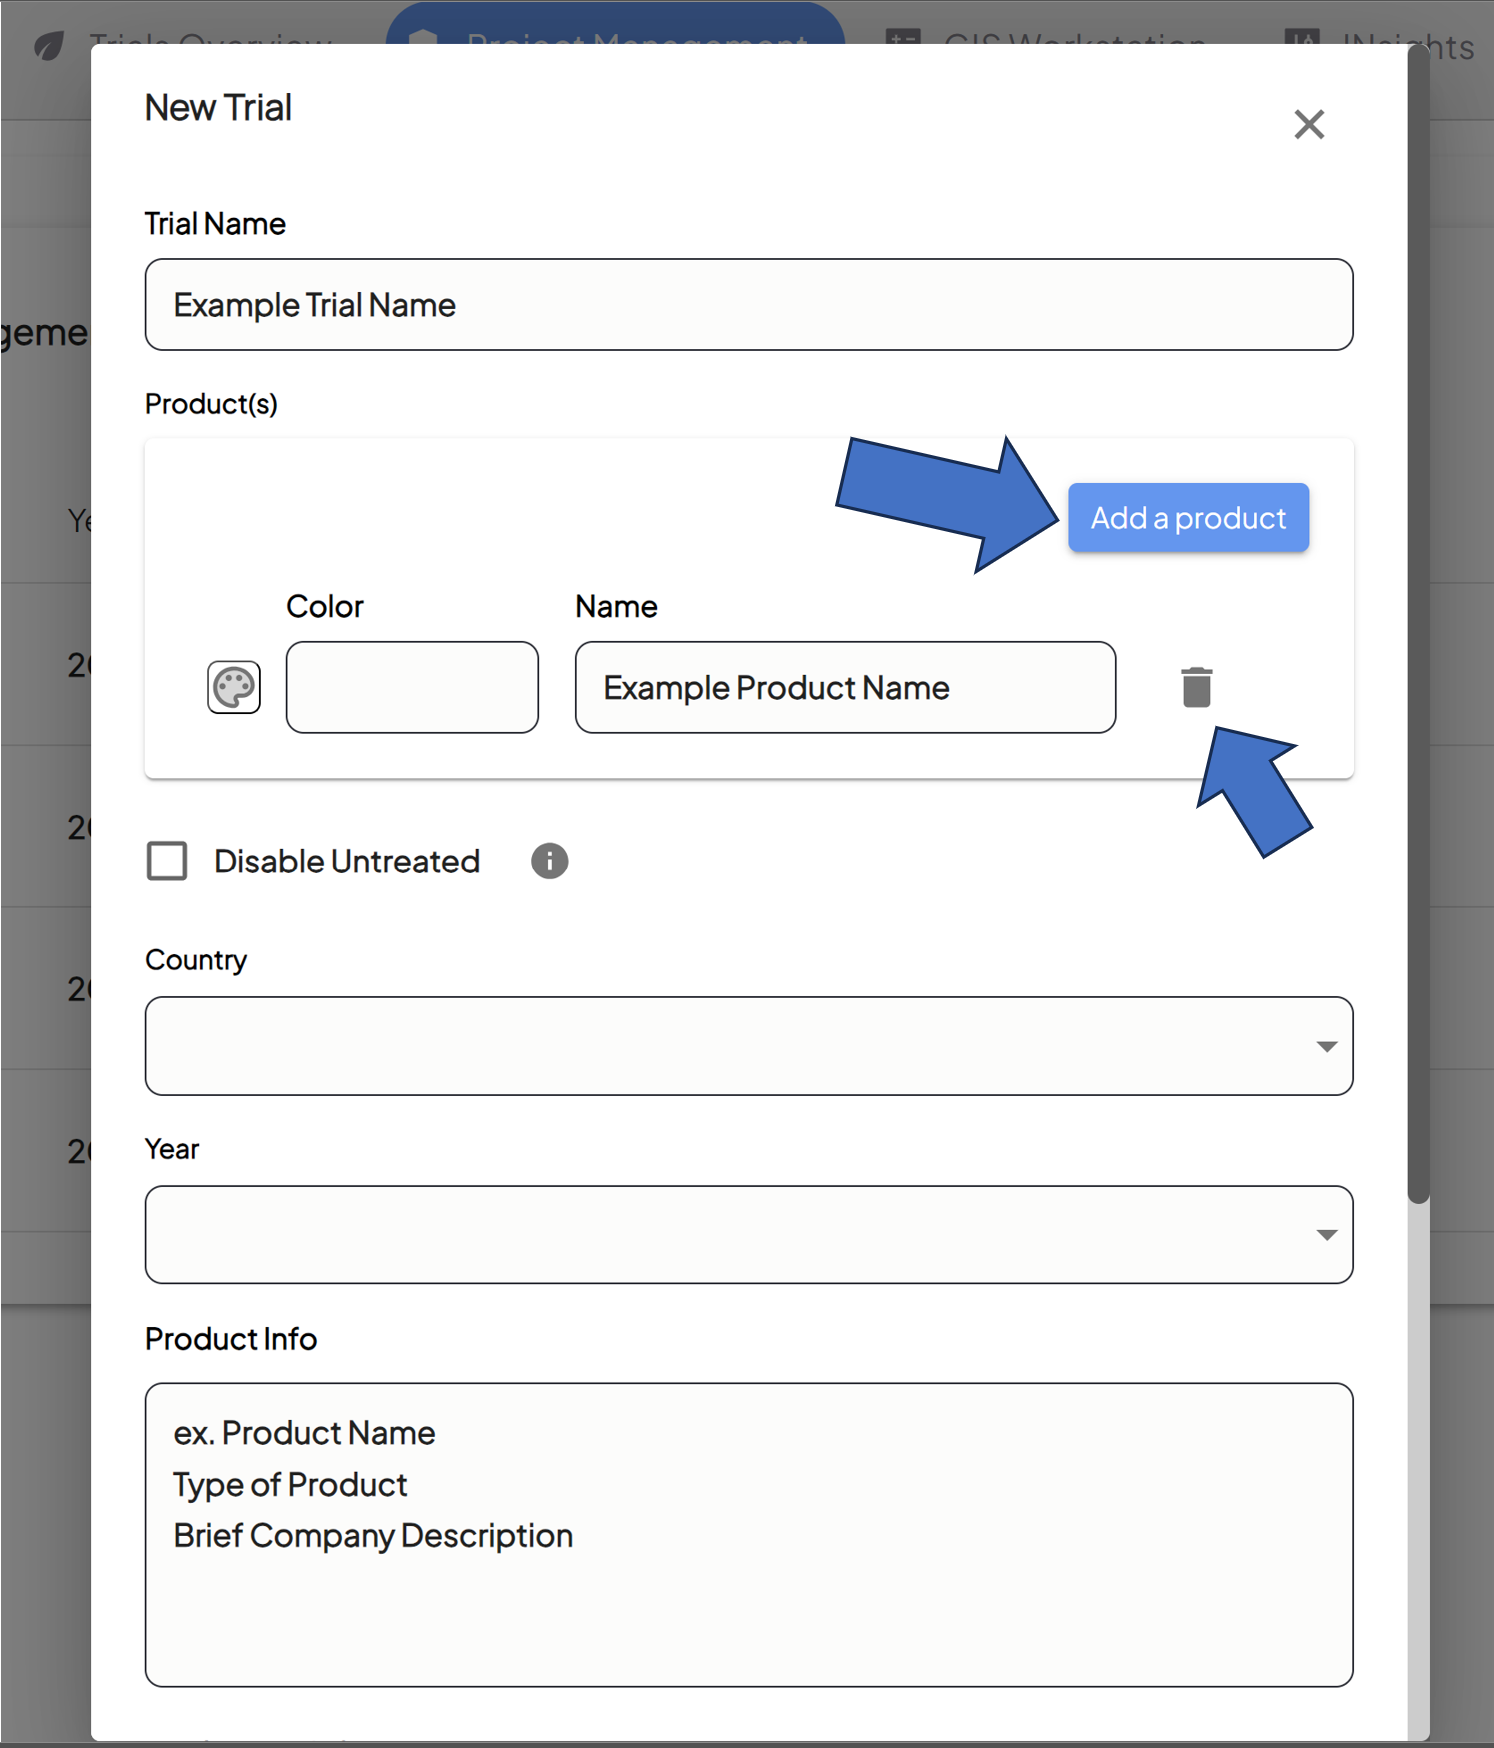
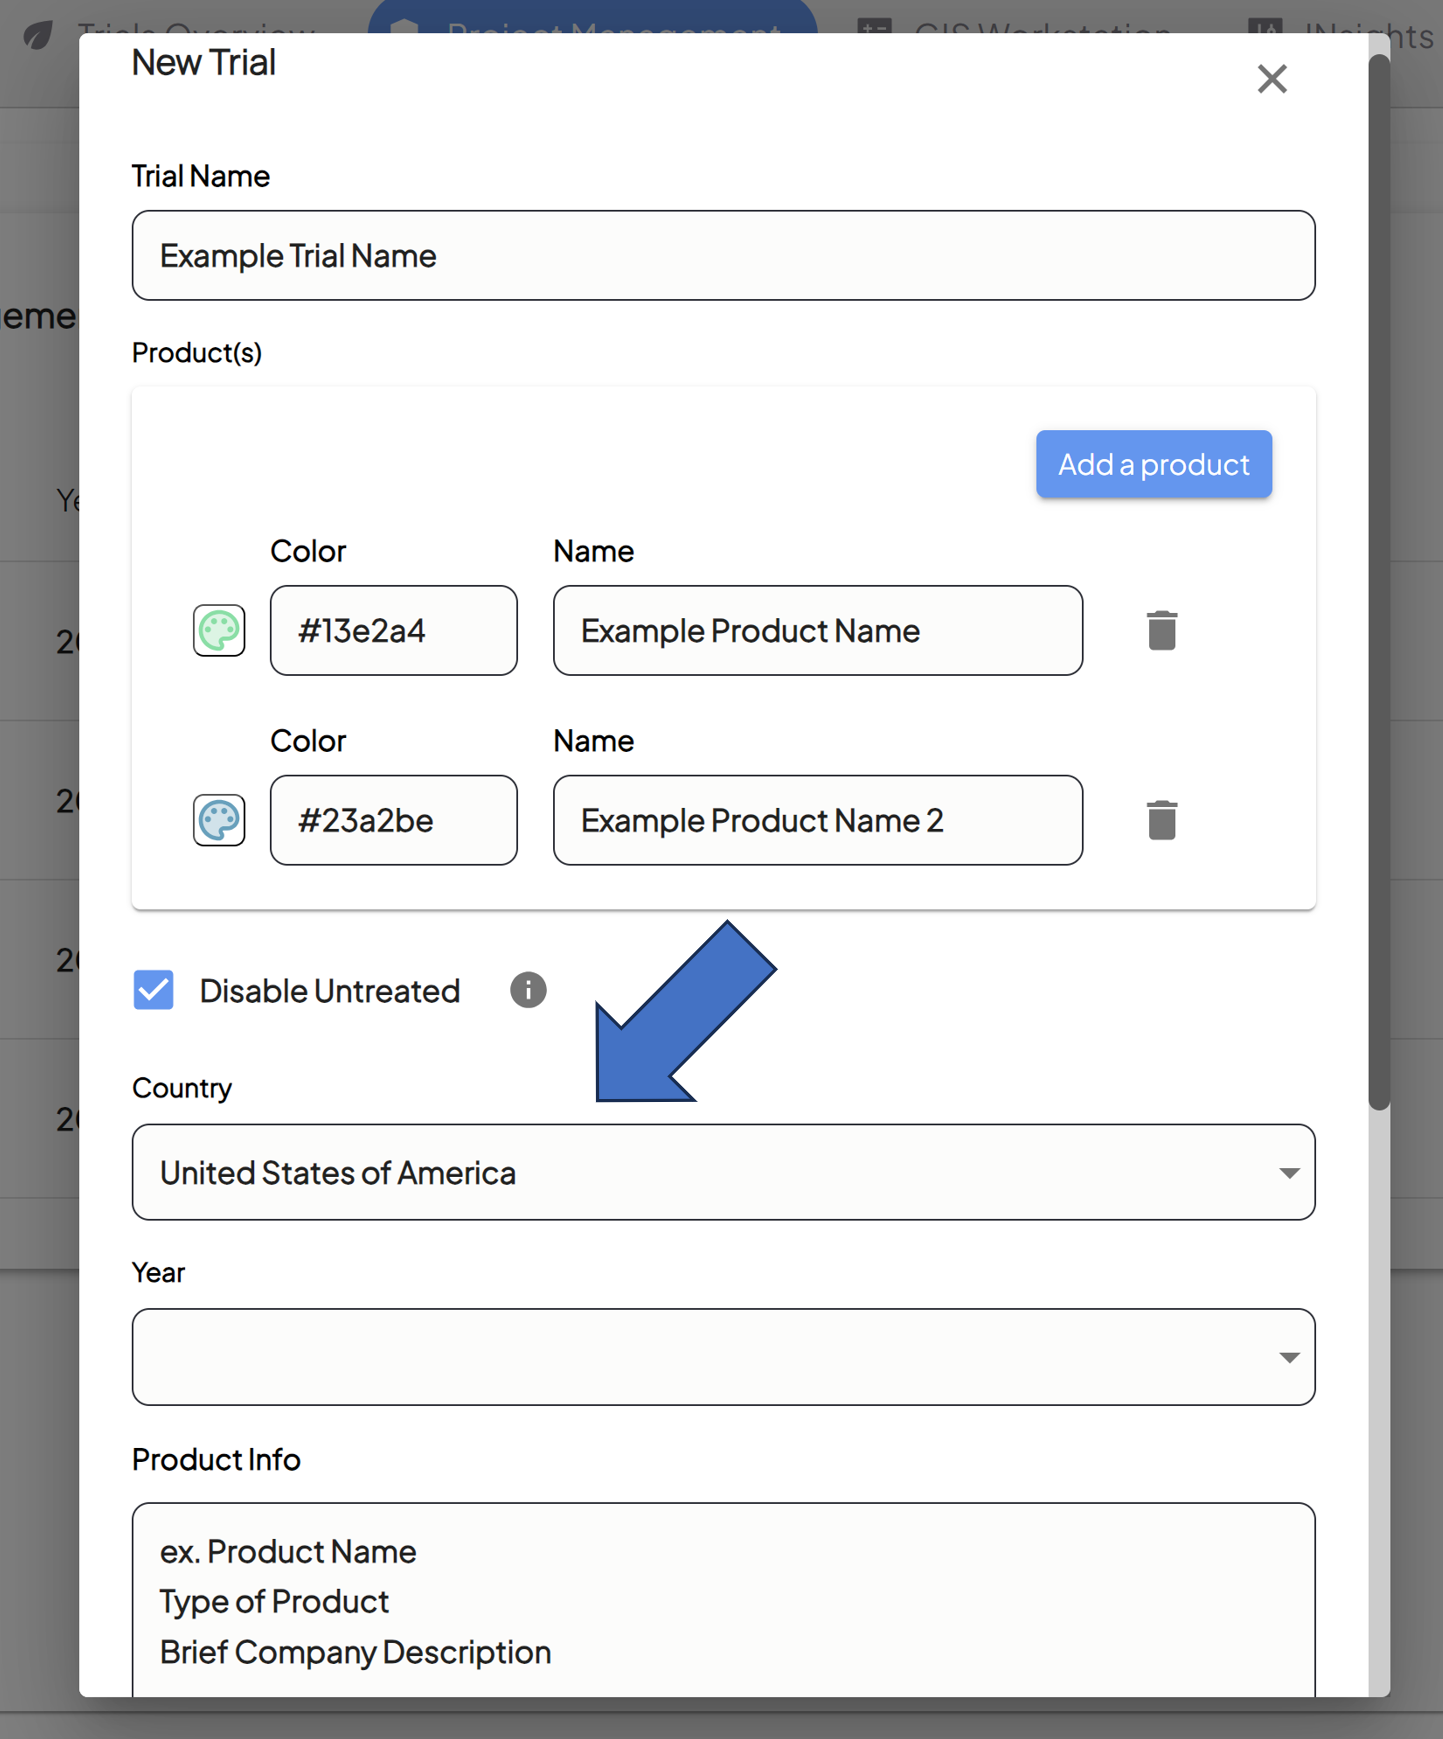
Name Your New Trial
- A popup will appear where you can fill out all of the details for your trial.
-
Enter a name for your trial/project in the Trial Name field.

-
Determine the Products To Be Used
- Enter the name of the product in the Name field.
-
Click the Add a Product button to add more products that will be included in the trial.
- Click the trash can icon next to the Name field to delete any products.
-
Customize Your Color Palette
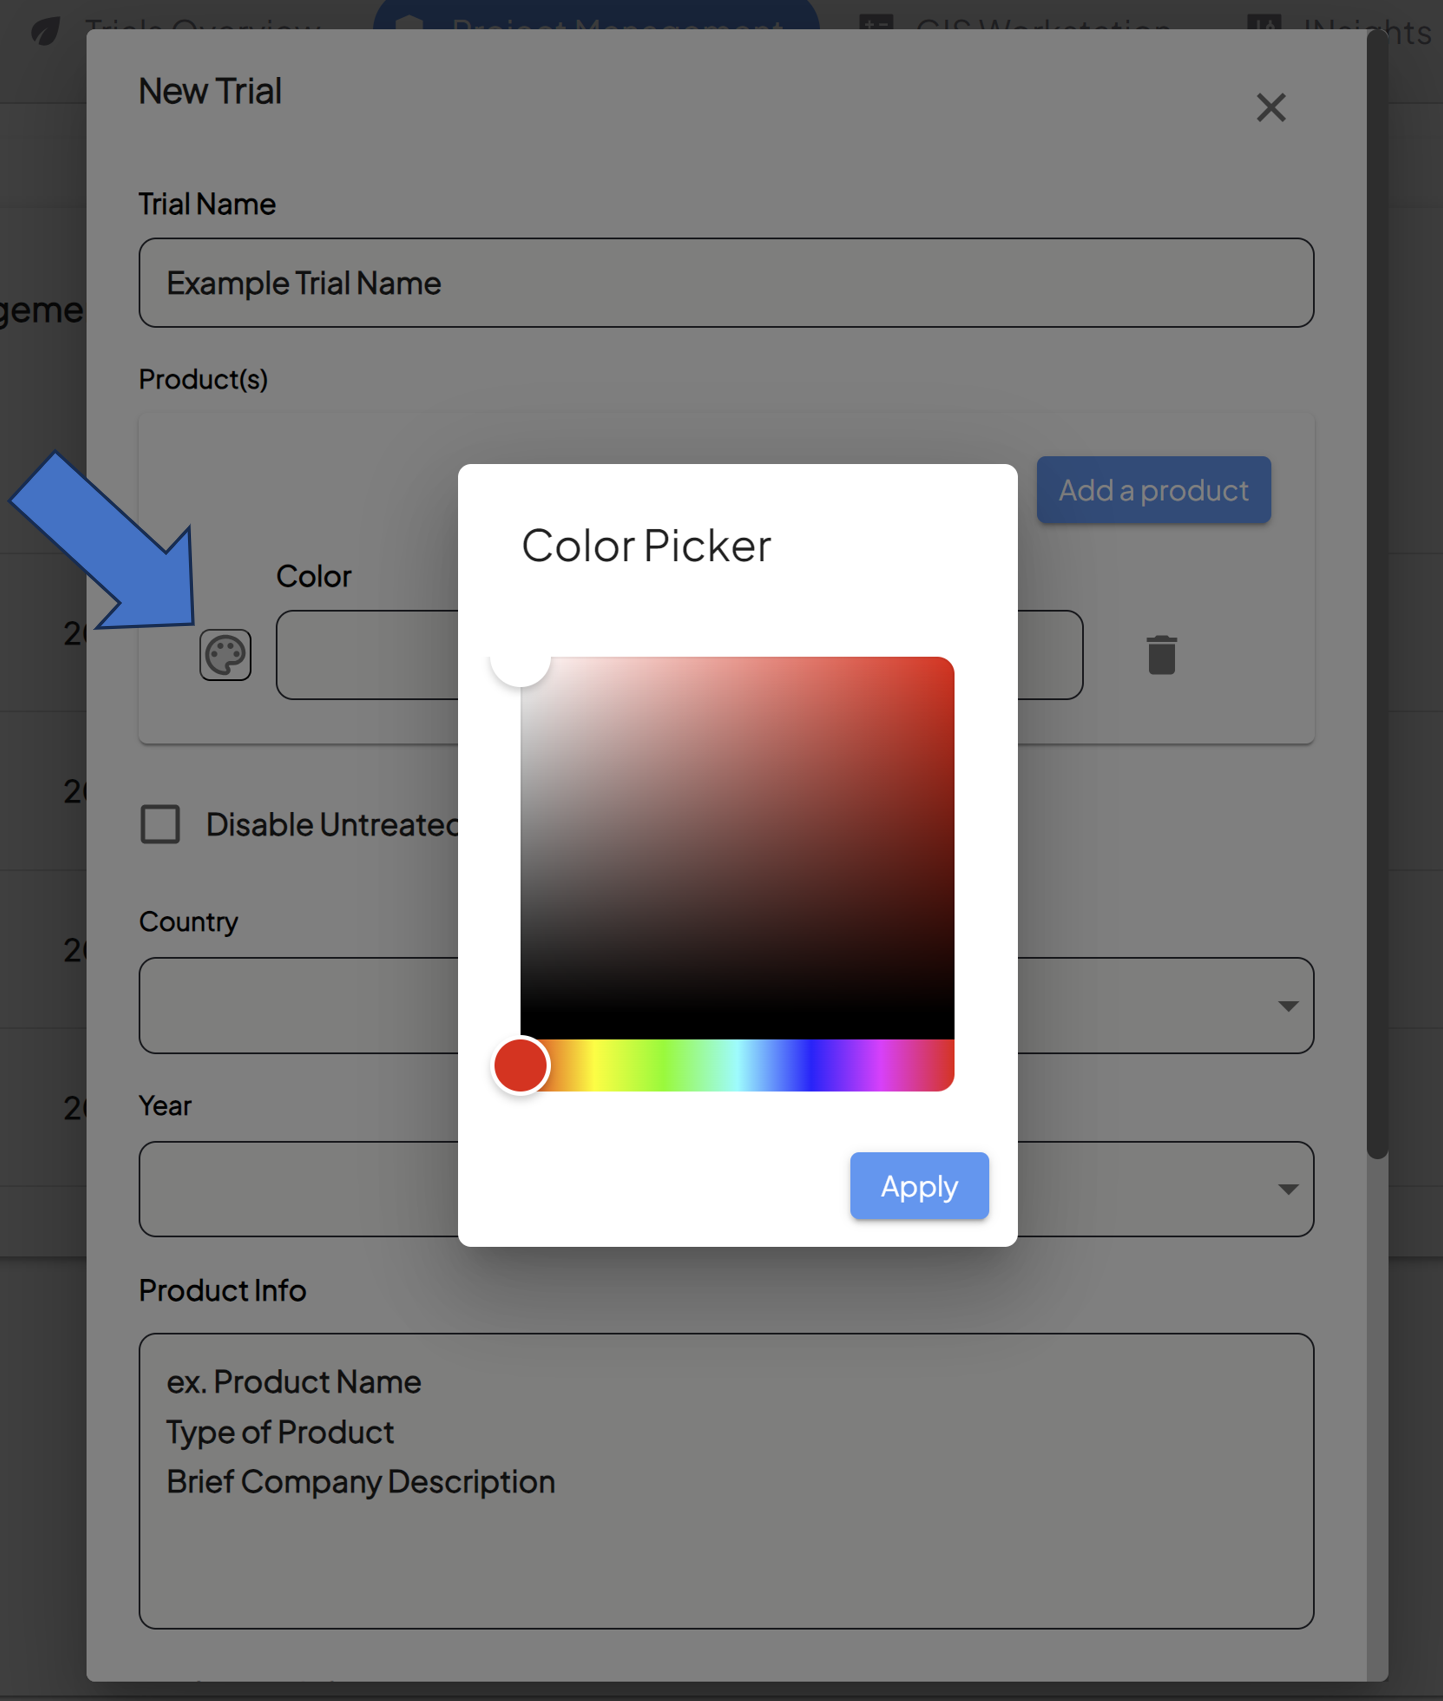
-
Customize the product color by clicking on the color picker icon, choosing the desired branding/color for each product.

-
Note that this will be used in the data processing and visualization of the products in View Fields.
-
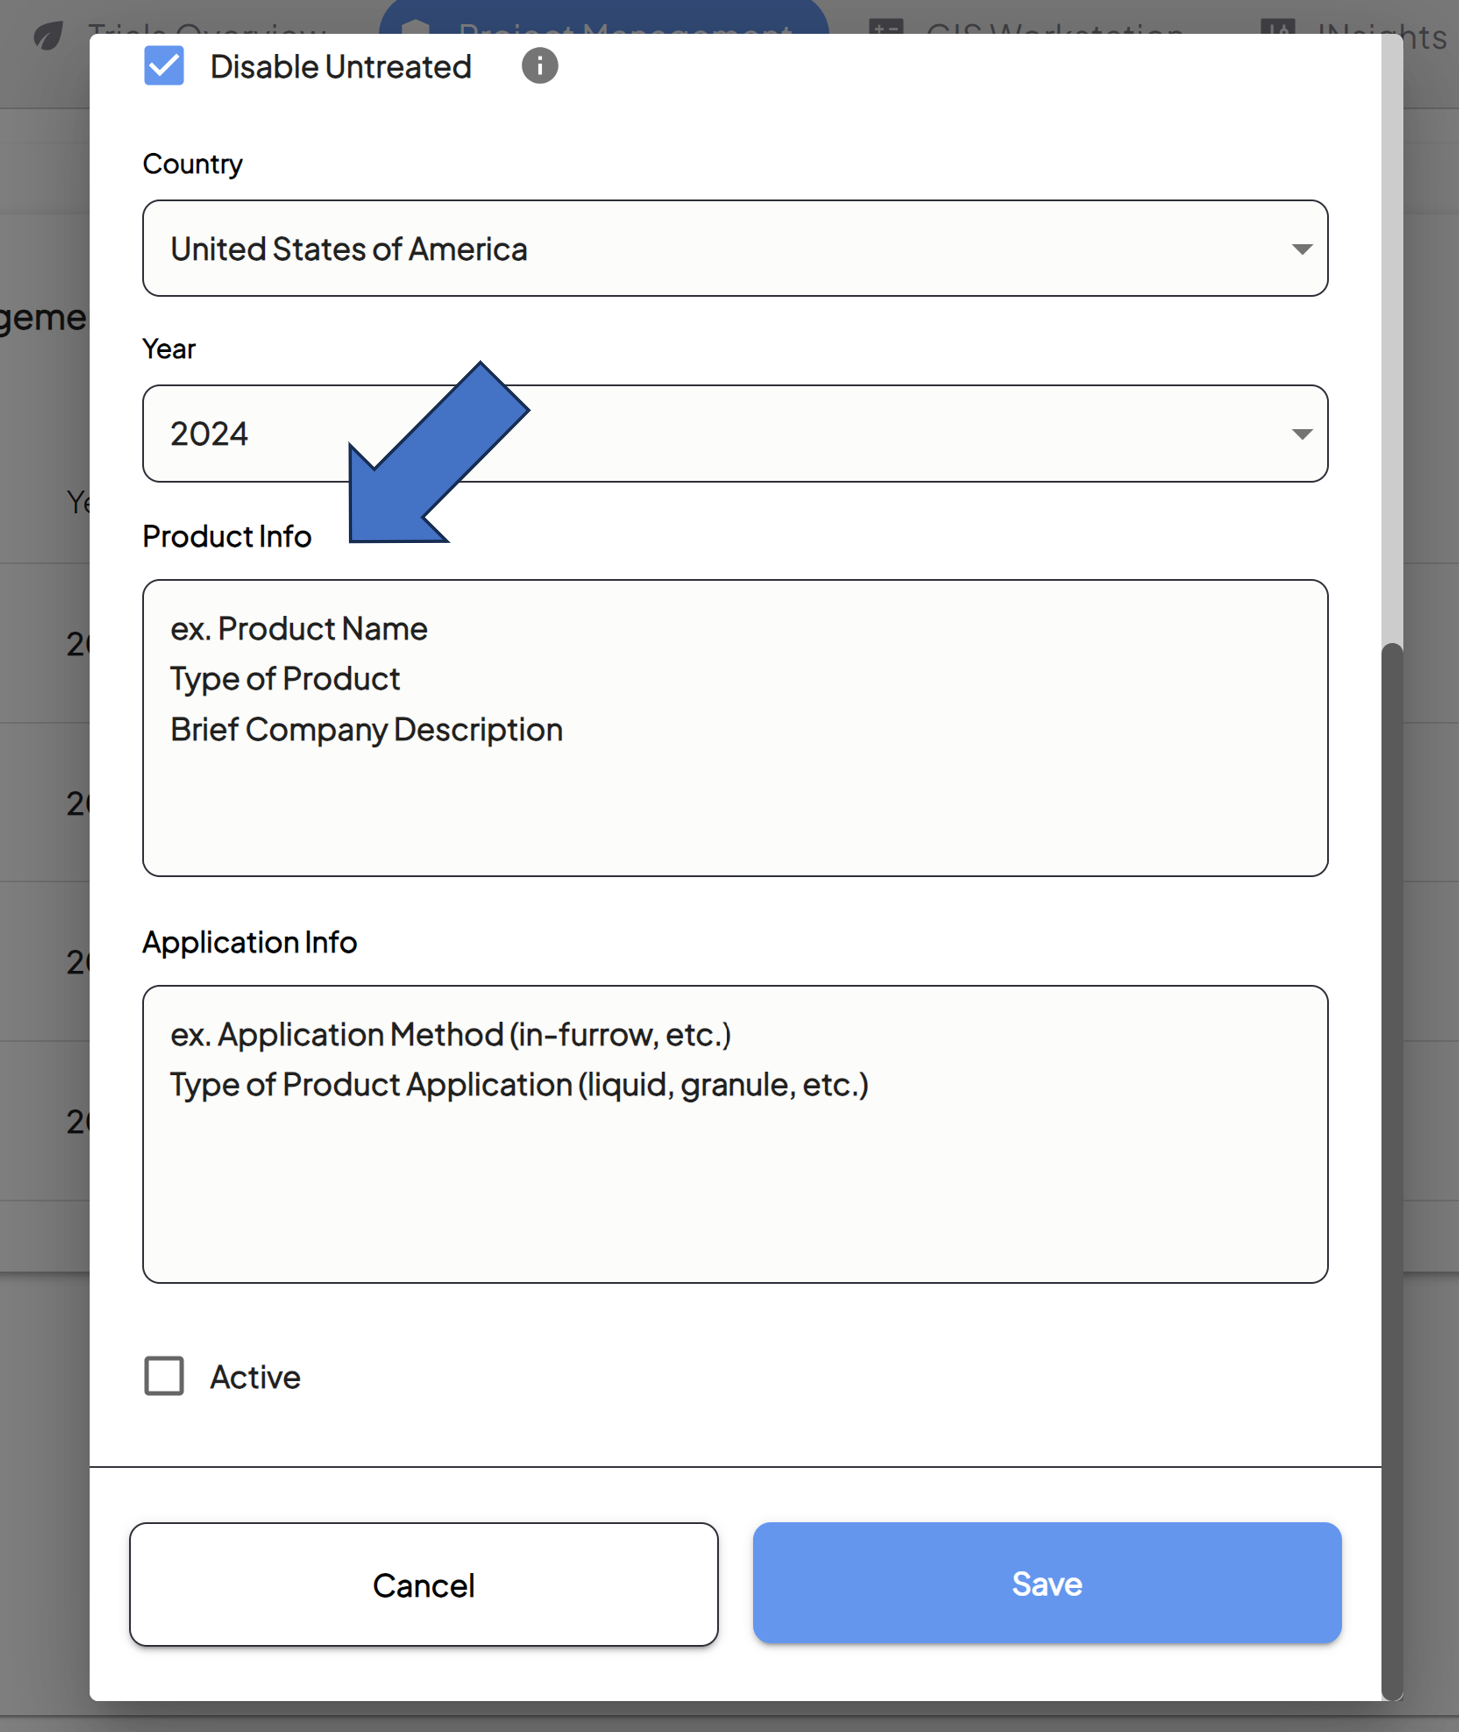
- Disable Untreated
- Check the Disable Untreated box if you do not want the system to automatically label unzoned areas (i.e. areas that are not determined to be treatment zones) as "untreated."
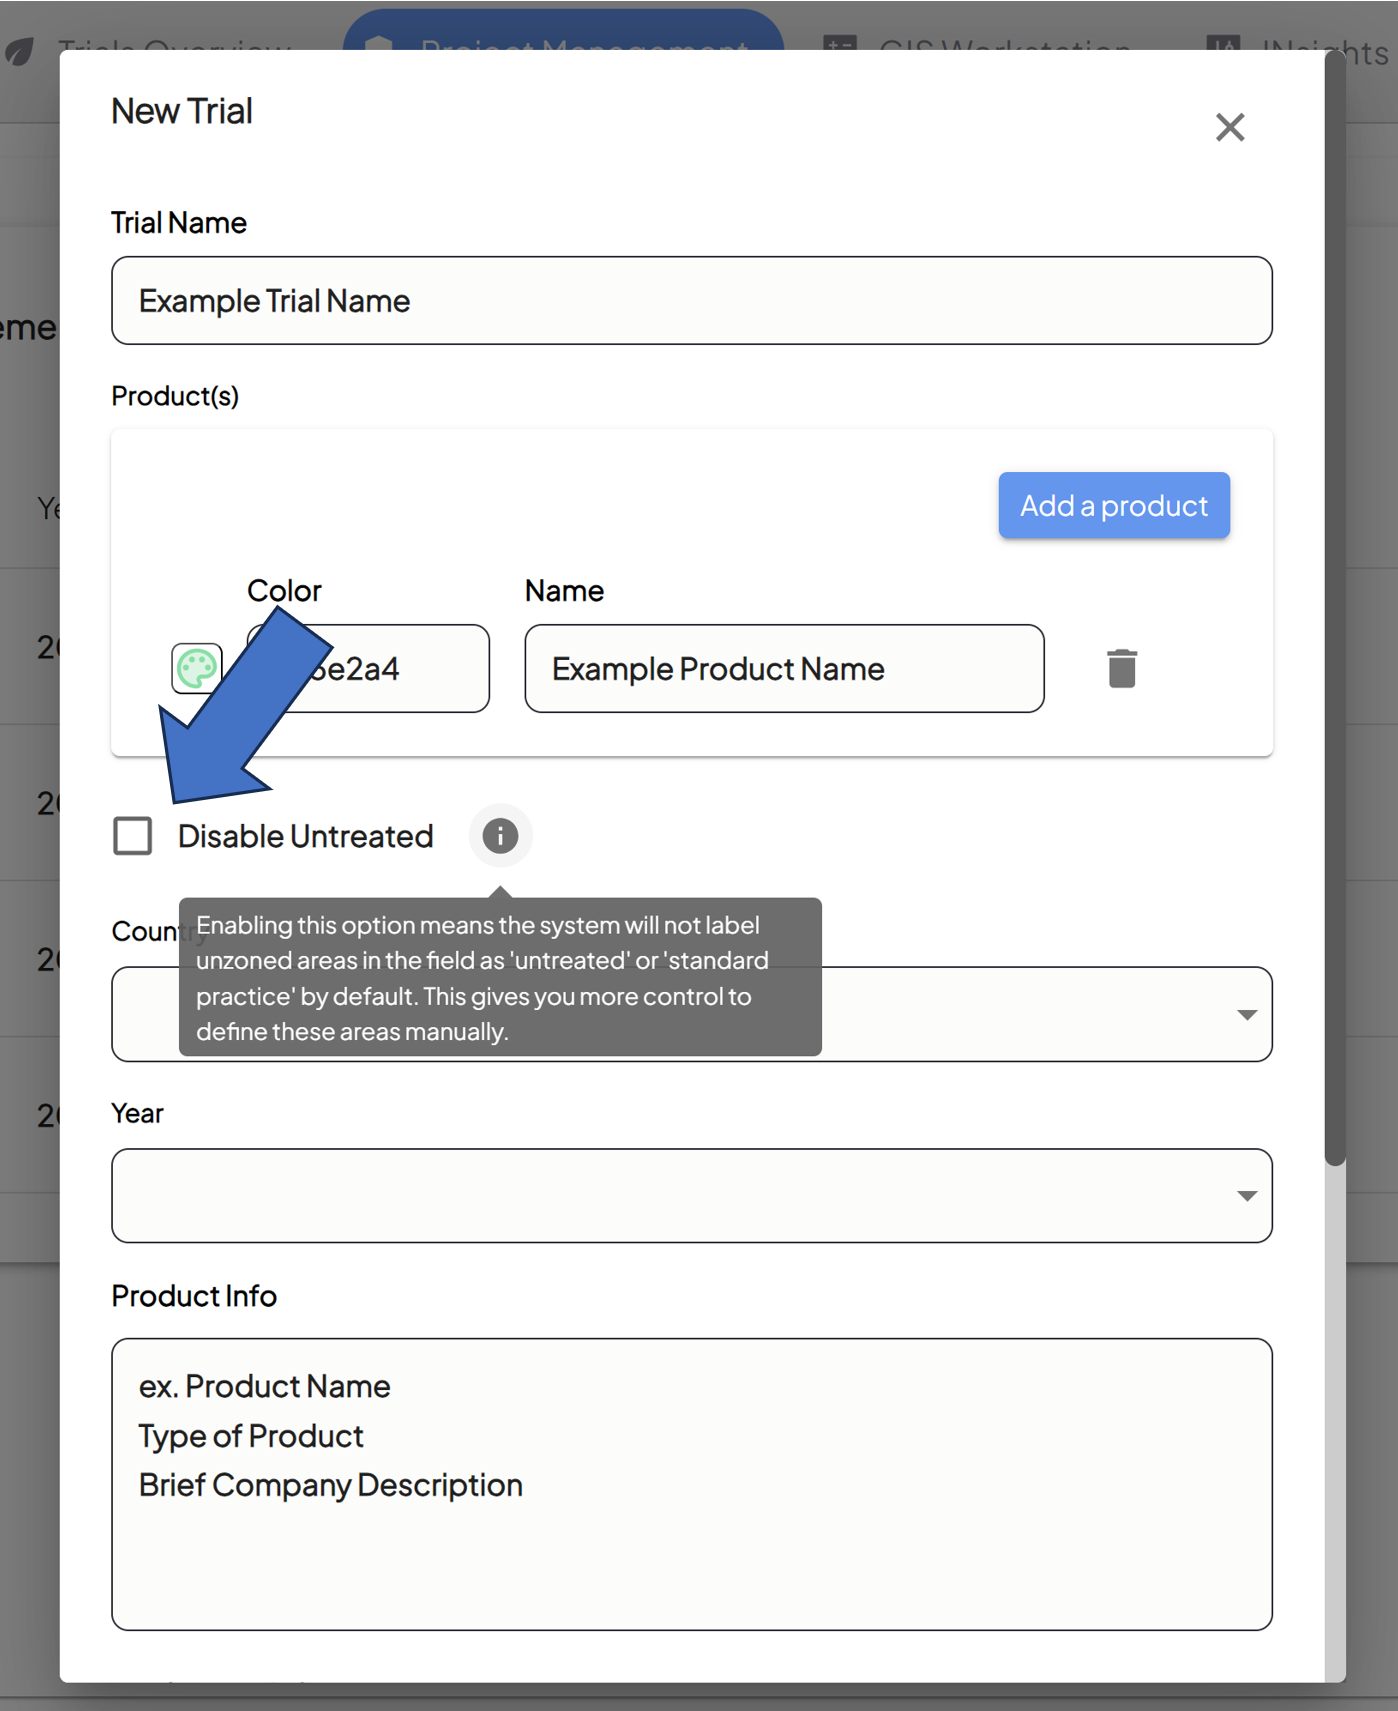
- Check the Disable Untreated box if you do not want the system to automatically label unzoned areas (i.e. areas that are not determined to be treatment zones) as "untreated."
-
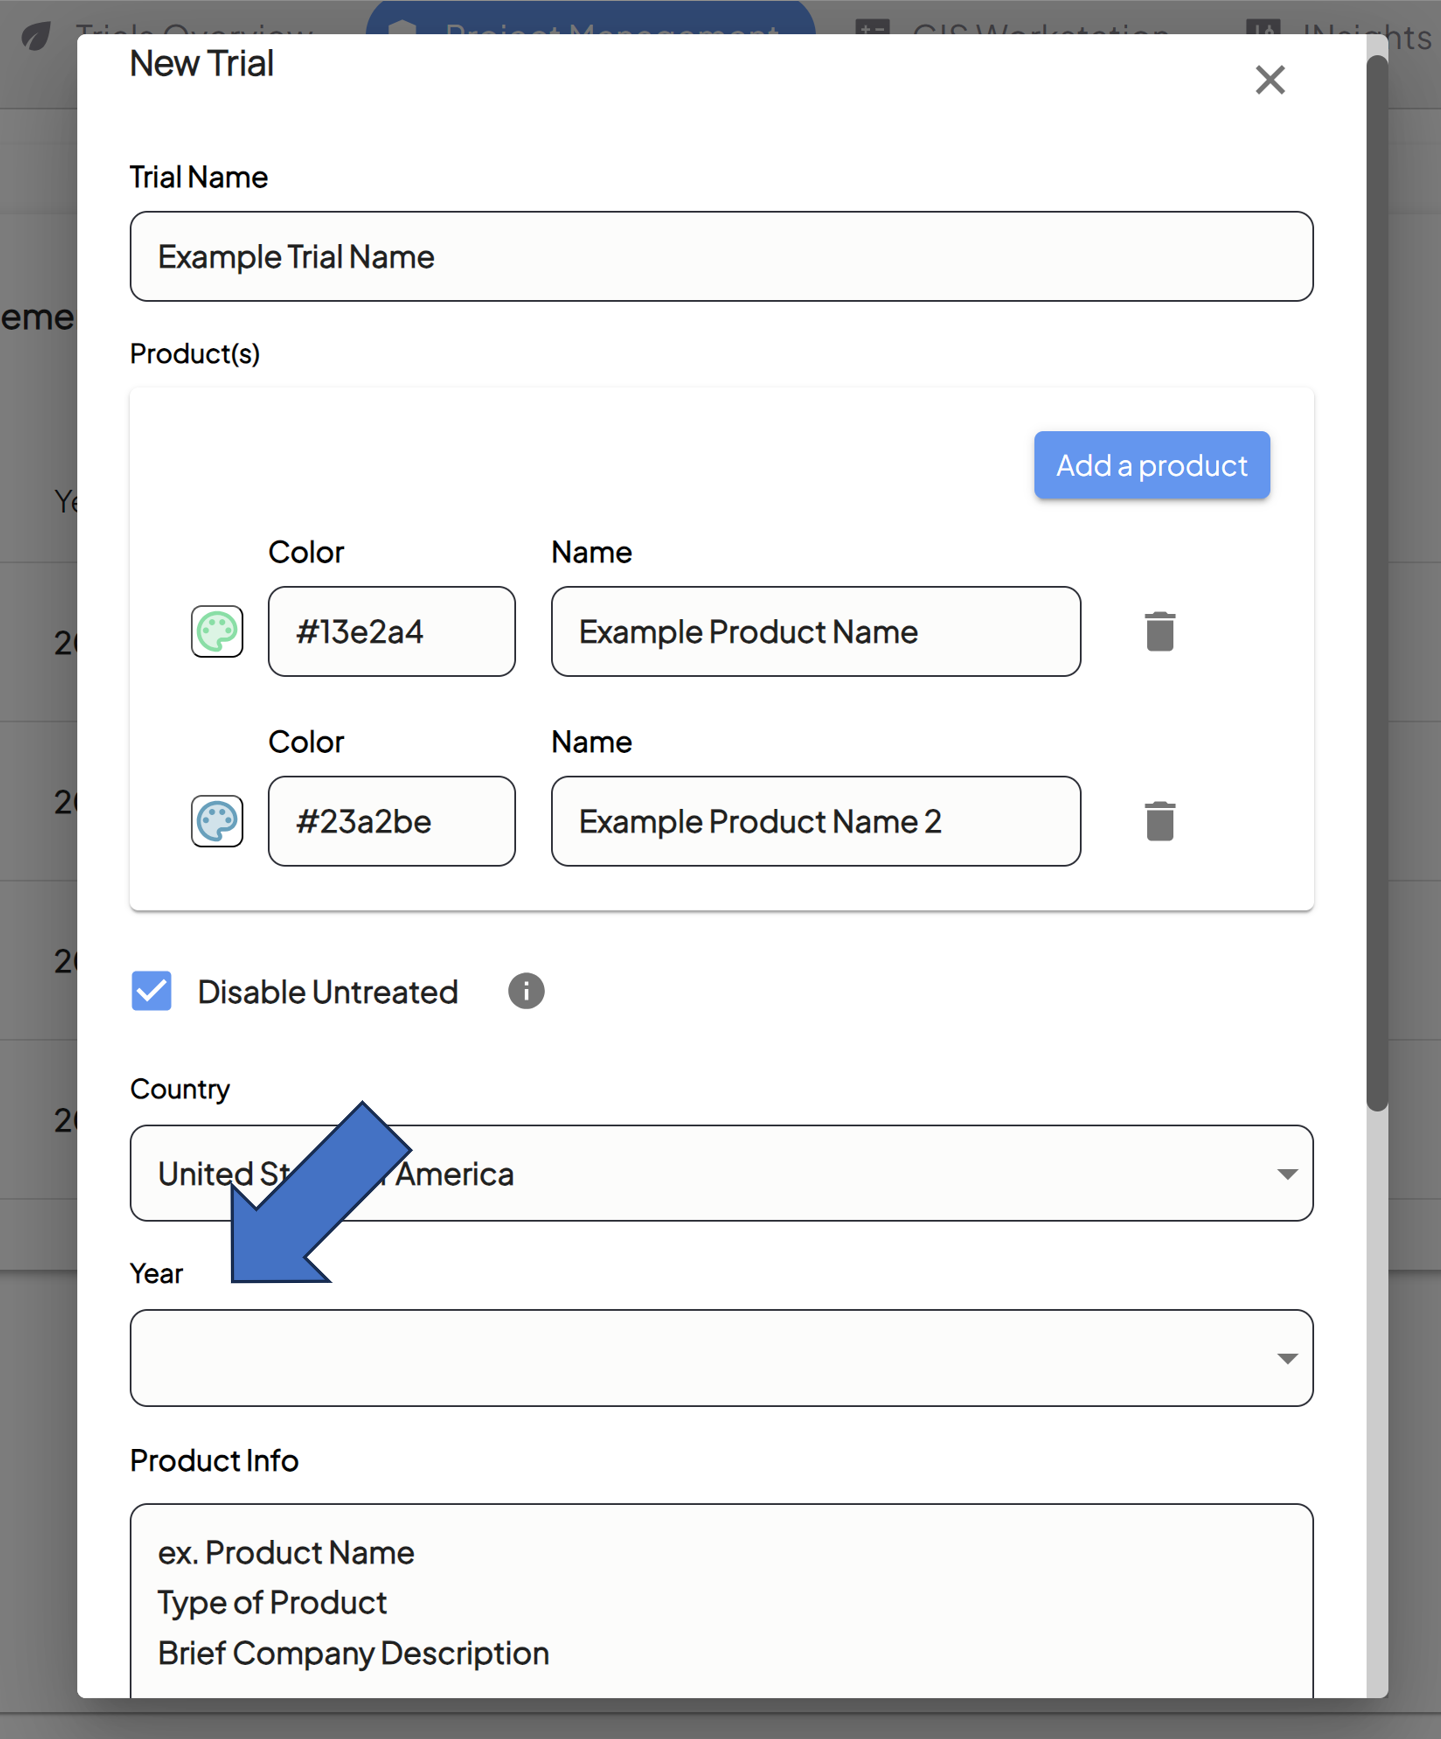
Determine the Country Where the Trial is Held
-
Select the country where the trial will take place from the Country dropdown menu.
-
-
Determine the Year of the Trial
-
Enter the year of the trial in the Year field.
-
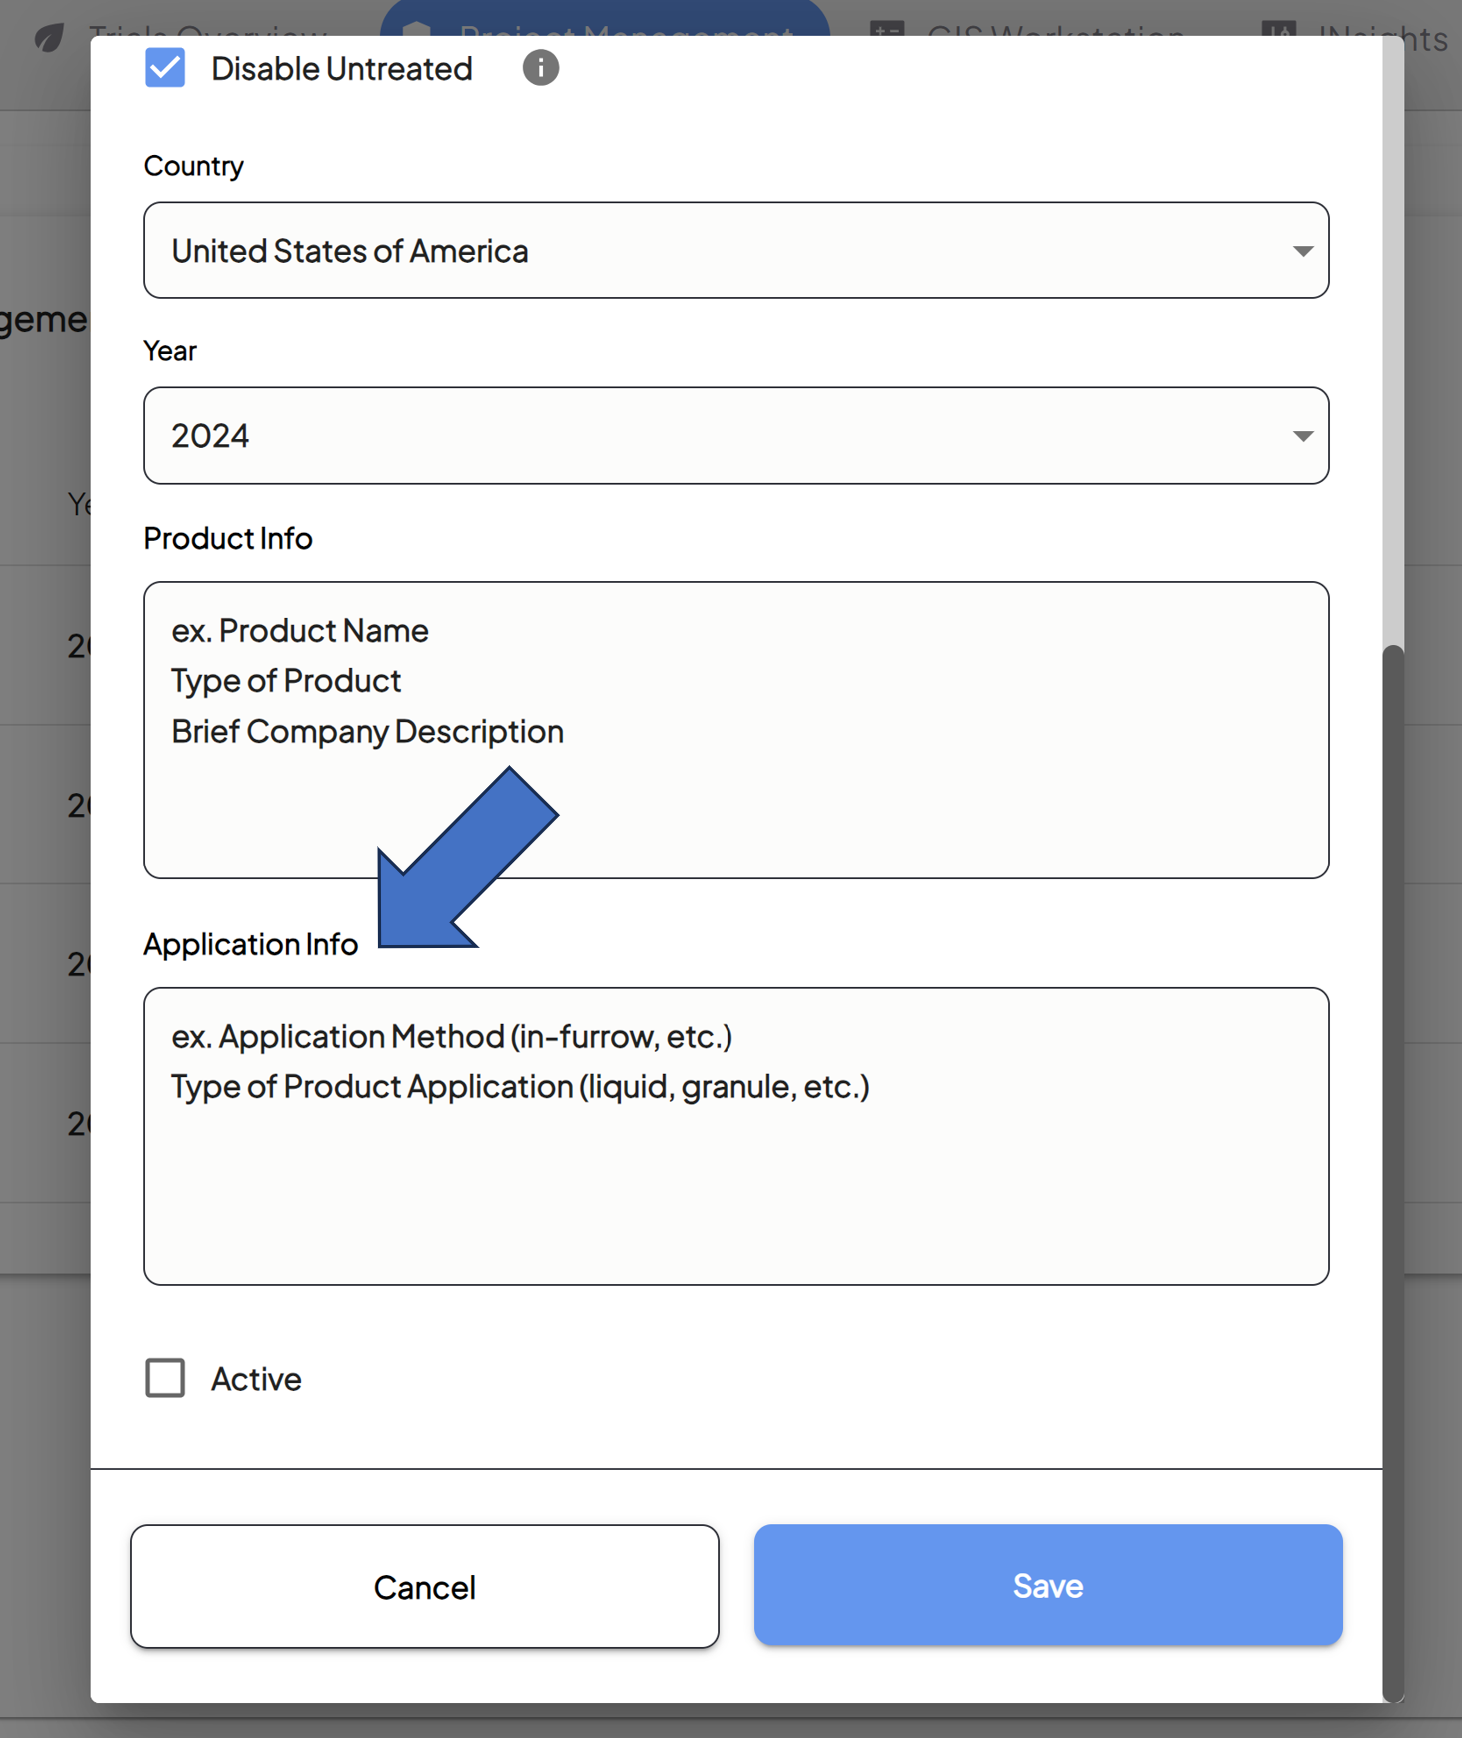
- Include Product Information
- Fill out the Product Info text box. Include information such as:
- The names of all products being used.
- The type of products they are.
- A description of the products.

- This information will populate the Field Performance Report that summarizes the statistics and performance of the trial on a field level.
- Fill out the Product Info text box. Include information such as:
- Include Application Information
-
Fill out the Application Info text box. Include information such as:
-
Application method of all products being used.
-
Type of products being applied.

-
- This information will populate the Field Performance Report that summarizes the statistics and performance of the trial on a field level.
-
-
Activate Your Trial
-
Check the Active box if you’re ready to kick off your project.

- You can leave your trial as inactive as long as necessary, but it will be hidden from the Overview Page/View Fields Page until activated.
-
-
Review and Confirm
-
Review the information you've entered and make any necessary edits.
-
Click the Save button to save your trial/project configuration.
-
You can return and edit the information you've submitted by clicking on the relevant trial/project from the dashboard and selecting the Edit icon.
For additional help, follow along with this video demonstrating how to create a new trial:
-