Access to INVISION
This section describes how to access INVISION
Access to INVISION
Guide to Gaining Access to INVISION
Gaining access to INVISION is a straightforward process. Follow these steps to set up your account and start utilizing the platform:
-
Contact INTENT for Account Setup
- Reach out to INTENT by providing your email address. This will initiate the setup of your account for INVISION.
-
Visit the INVISION Website
- Open your web browser and navigate to INVISION Login Page.

- Open your web browser and navigate to INVISION Login Page.
-
Verification Process
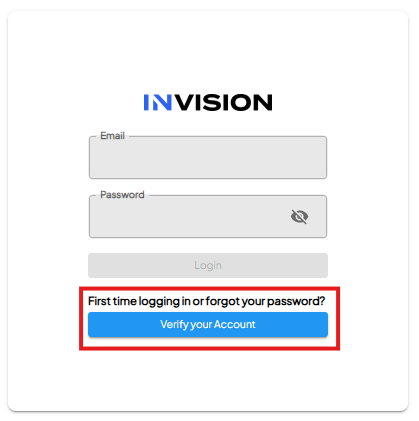
- On the login page, you will find an option to Verify your Account. Click on this.

- Enter the email address you provided to INTENT. This is a crucial step for verifying your identity and proceeding with the setup.
- On the login page, you will find an option to Verify your Account. Click on this.
-
Check Your Email
- Once you have entered your email for verification, check your email inbox for a message from INVISION.
- If you don't see the email in your inbox, remember to check your Junk or Spam folders.

-
Set Up Your Password
- In the email from INVISION, you will find a link. Click on this link to set up a new password for your account.
- It's important to choose a strong, secure password as this will protect your account and data.

-
Finalizing Your Access
- After creating your password, you are all set to log in to INVISION.
- Use your registered email address and the new password to login and start exploring the platform.

By following these steps, you'll successfully gain access to INVISION, where you can begin managing and standardizing geospatial agronomic data for your agricultural trials.
For additional help, follow along with this video demonstrating how to login to INVISION:
How To Reset Your Password
Guide to Resetting Your Password
There are two ways to reset your password for the INVISION Platform.
The first option is to reset your password using the email associated with INVISION.
-
Visit the INVISION Website
-
Navigate to the INVISION Login Page where the default option to change your password is using your email. Click on Verify your Account.
-
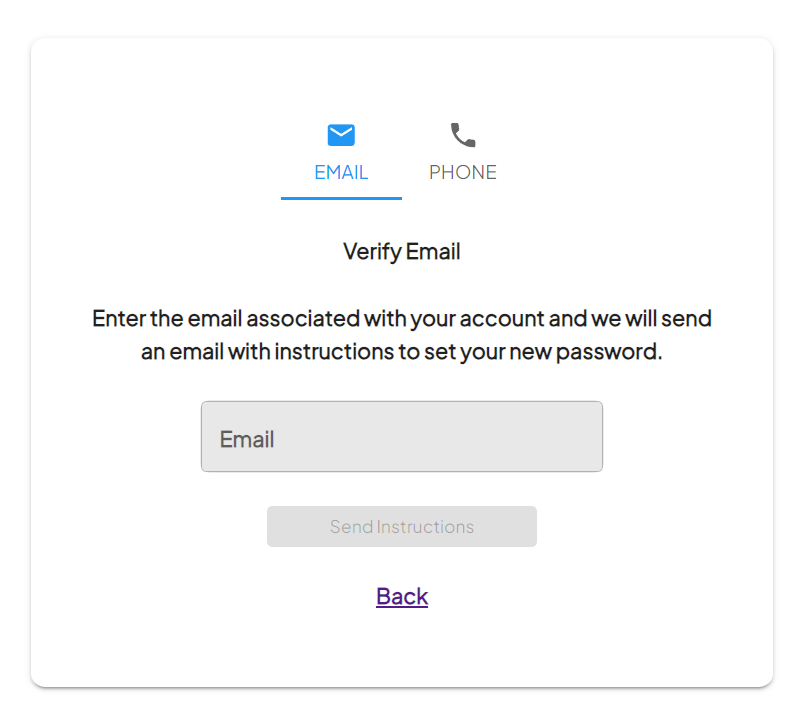
- Verify Your Email
-
Enter your system email and click the button that says Send Instructions.

-
-
Check your Email
-
An email will be sent to you, with a link to set up your password.
-
Don’t forget to check your Junk or Spam folders, if you cannot find this email.
-
-
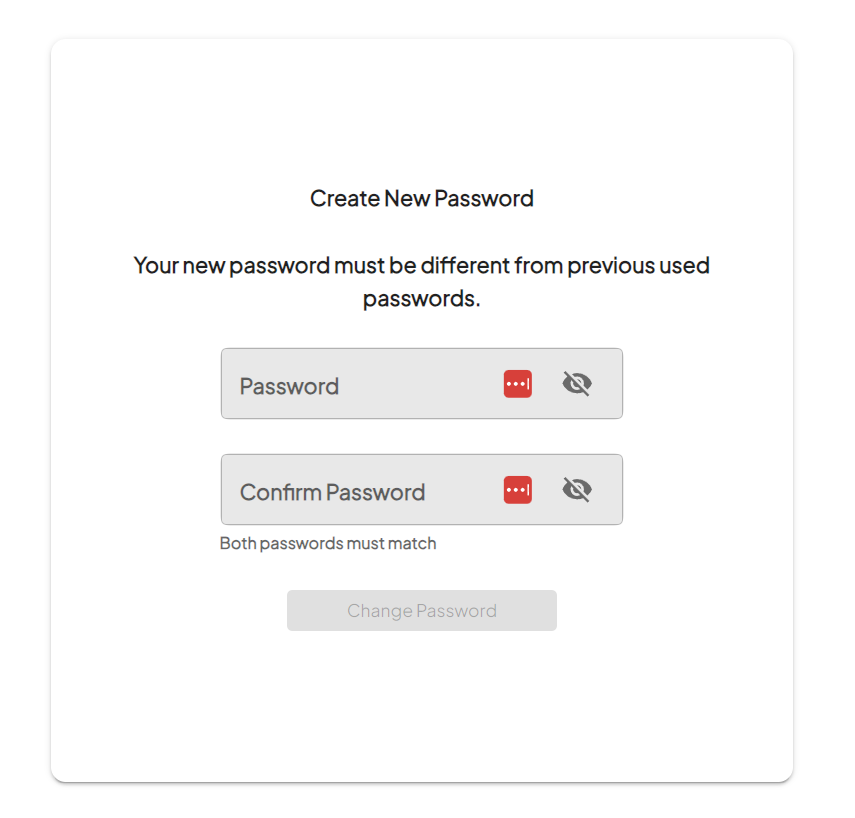
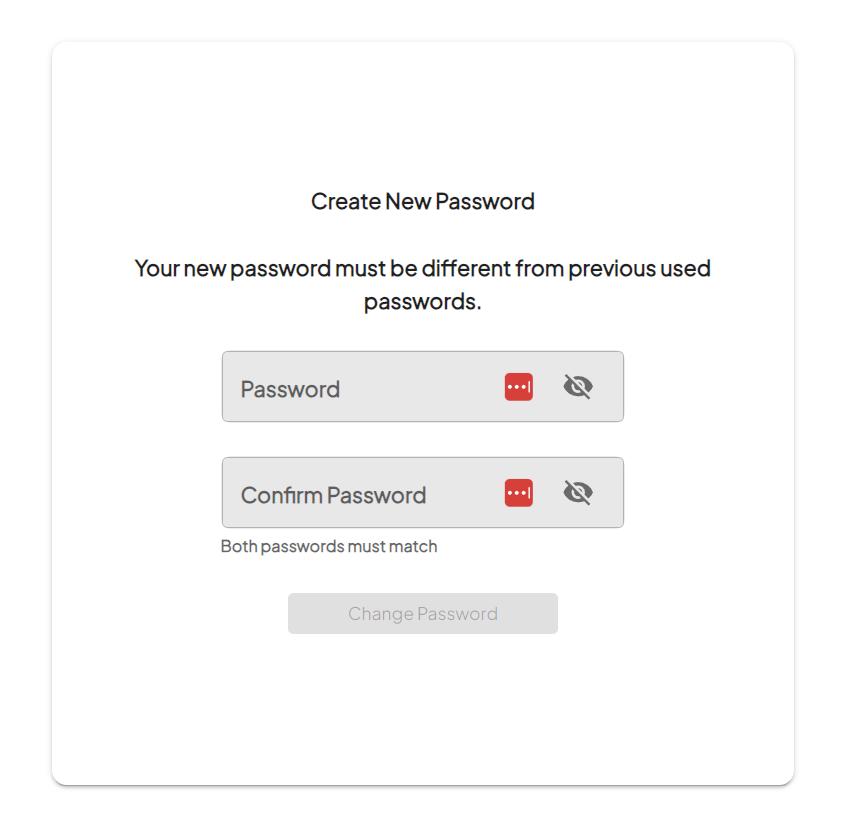
Change Your Password
- In the email from INVISION, you will find a link. Click on this link to set up a new password for your account.
- It's important to choose a strong, secure password as this will protect your account and data.
-
Enter your new password and click the button to confirm.
-
Your password has now been reset, and you can login to INVISION.


The second option is to use the phone number associated with the INVISION Platform.
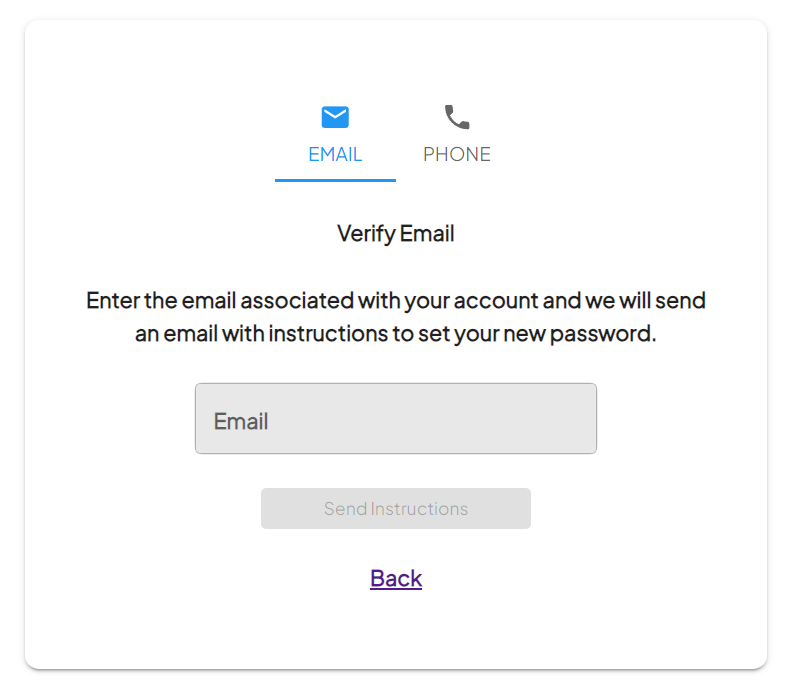
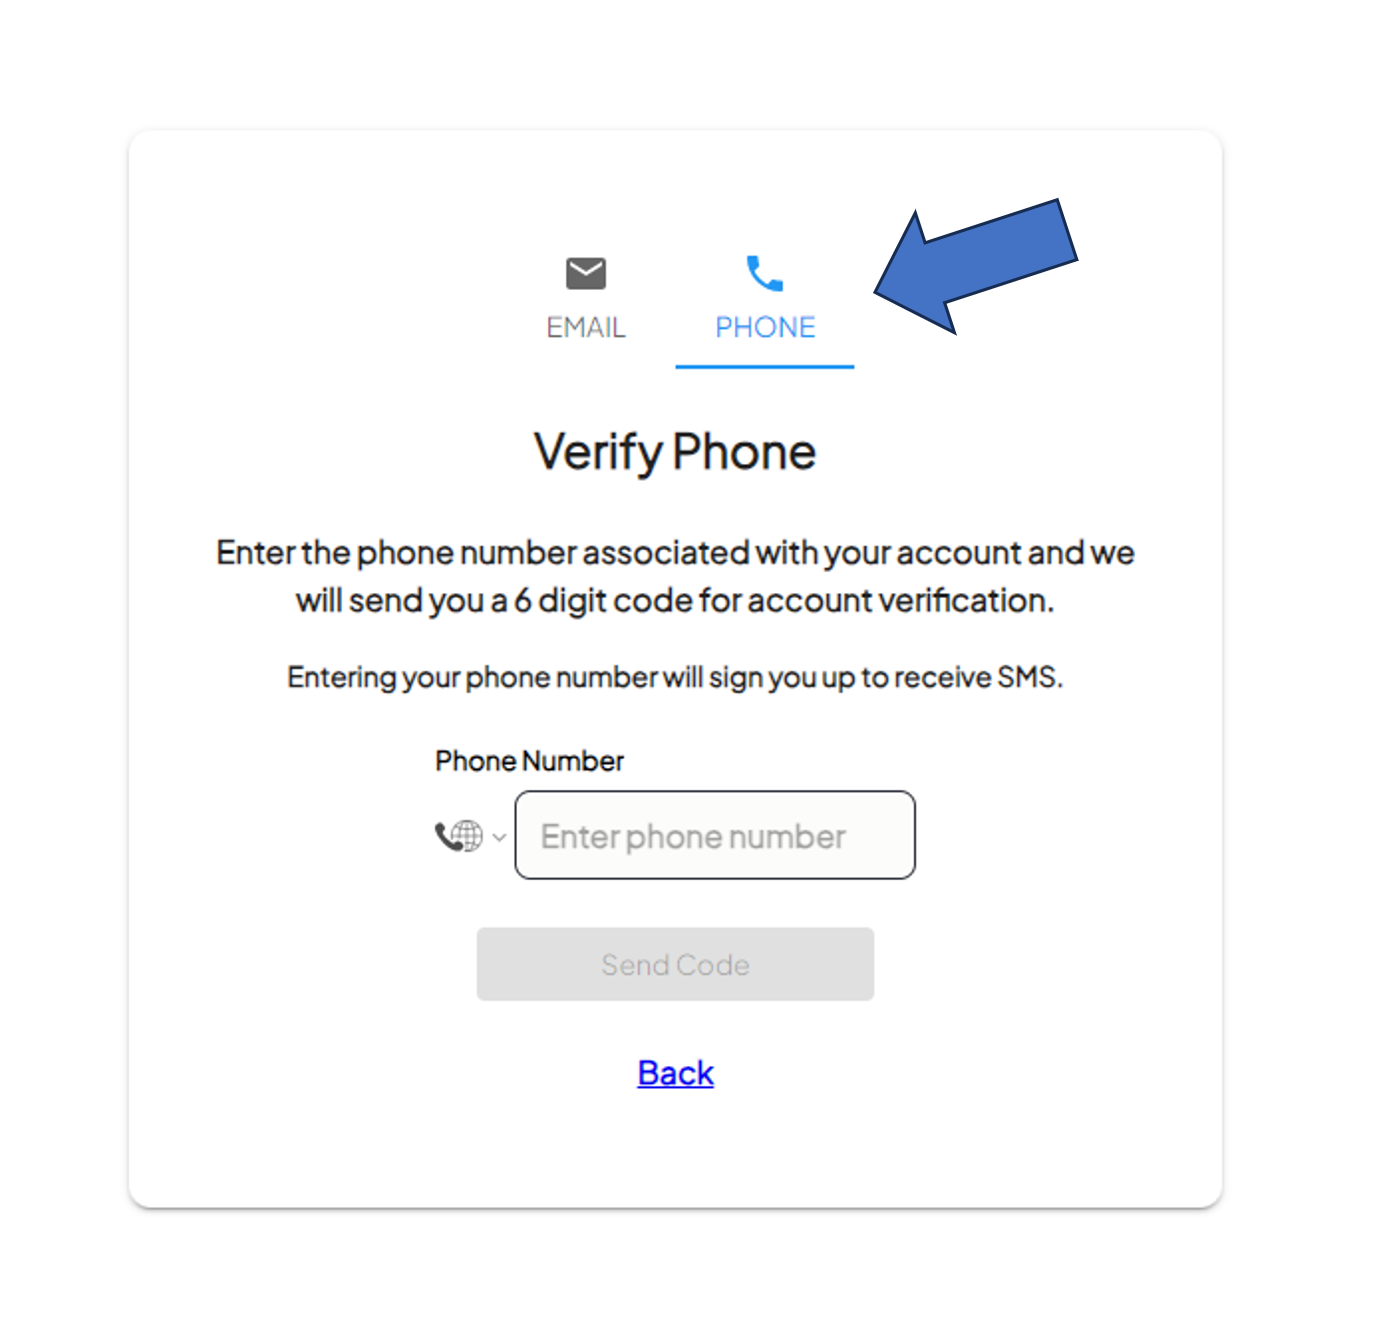
- Switch Verification Method to Phone
- You first need to select the Phone option at the top of the screen.

- You first need to select the Phone option at the top of the screen.
- Input Your Phone Number
- Enter the phone number you have setup with INTENT.
- Don't forget to include the country code (For the US, the country code is +1).
- Verify Your Phone Number
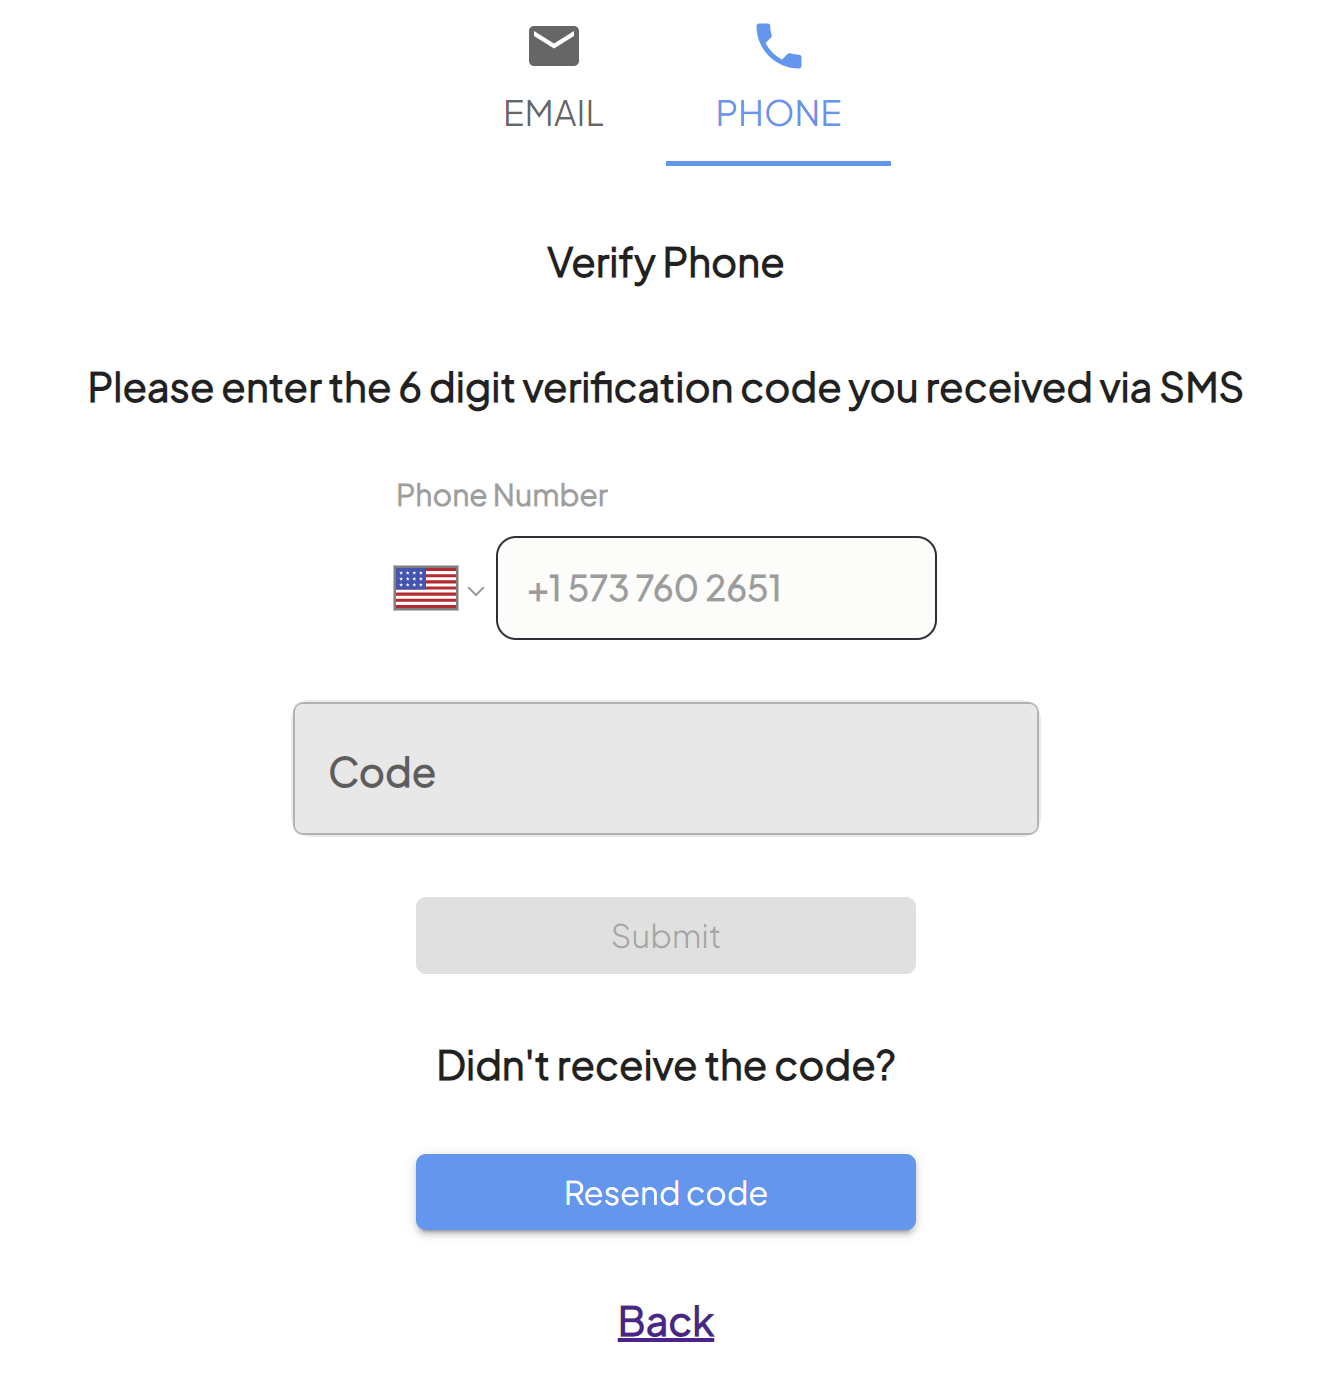
-
- A 6 digit code will be sent to your phone through a text message. Enter this code into the box that appears, and hit Submit.
- Once the correct code is entered, you will have the option to set up or reset your password.
- Change Your Password
- It's important to choose a strong, secure password as this will protect your account and data.
-
Enter your new password and click the button to confirm.
- Use your registered email address and the new password to login and start exploring the platform.
By following these steps, you'll successfully gain access to INVISION, where you can manage, process and standardize geospatial agronomic data and to get rapid actionable insights for your trials.
For additional help, follow along with this video demonstrating how to reset your password using your associated email:
How to Switch Your Active Client
Guide to Finding Your Client in INVISION
Within the INVISION Platform, data is secured and organized by Client. This means, you can only see one client's data at a time. Which client you see is controlled through the Client Switcher. Follow along on this quick and easy guide to switch your active client in INVISION.
Selecting a Client on Login
- If you have access to multiple clients through the INVISION Platform, when you first login you will be greeted with a window where you can select the client you would like to begin working with.
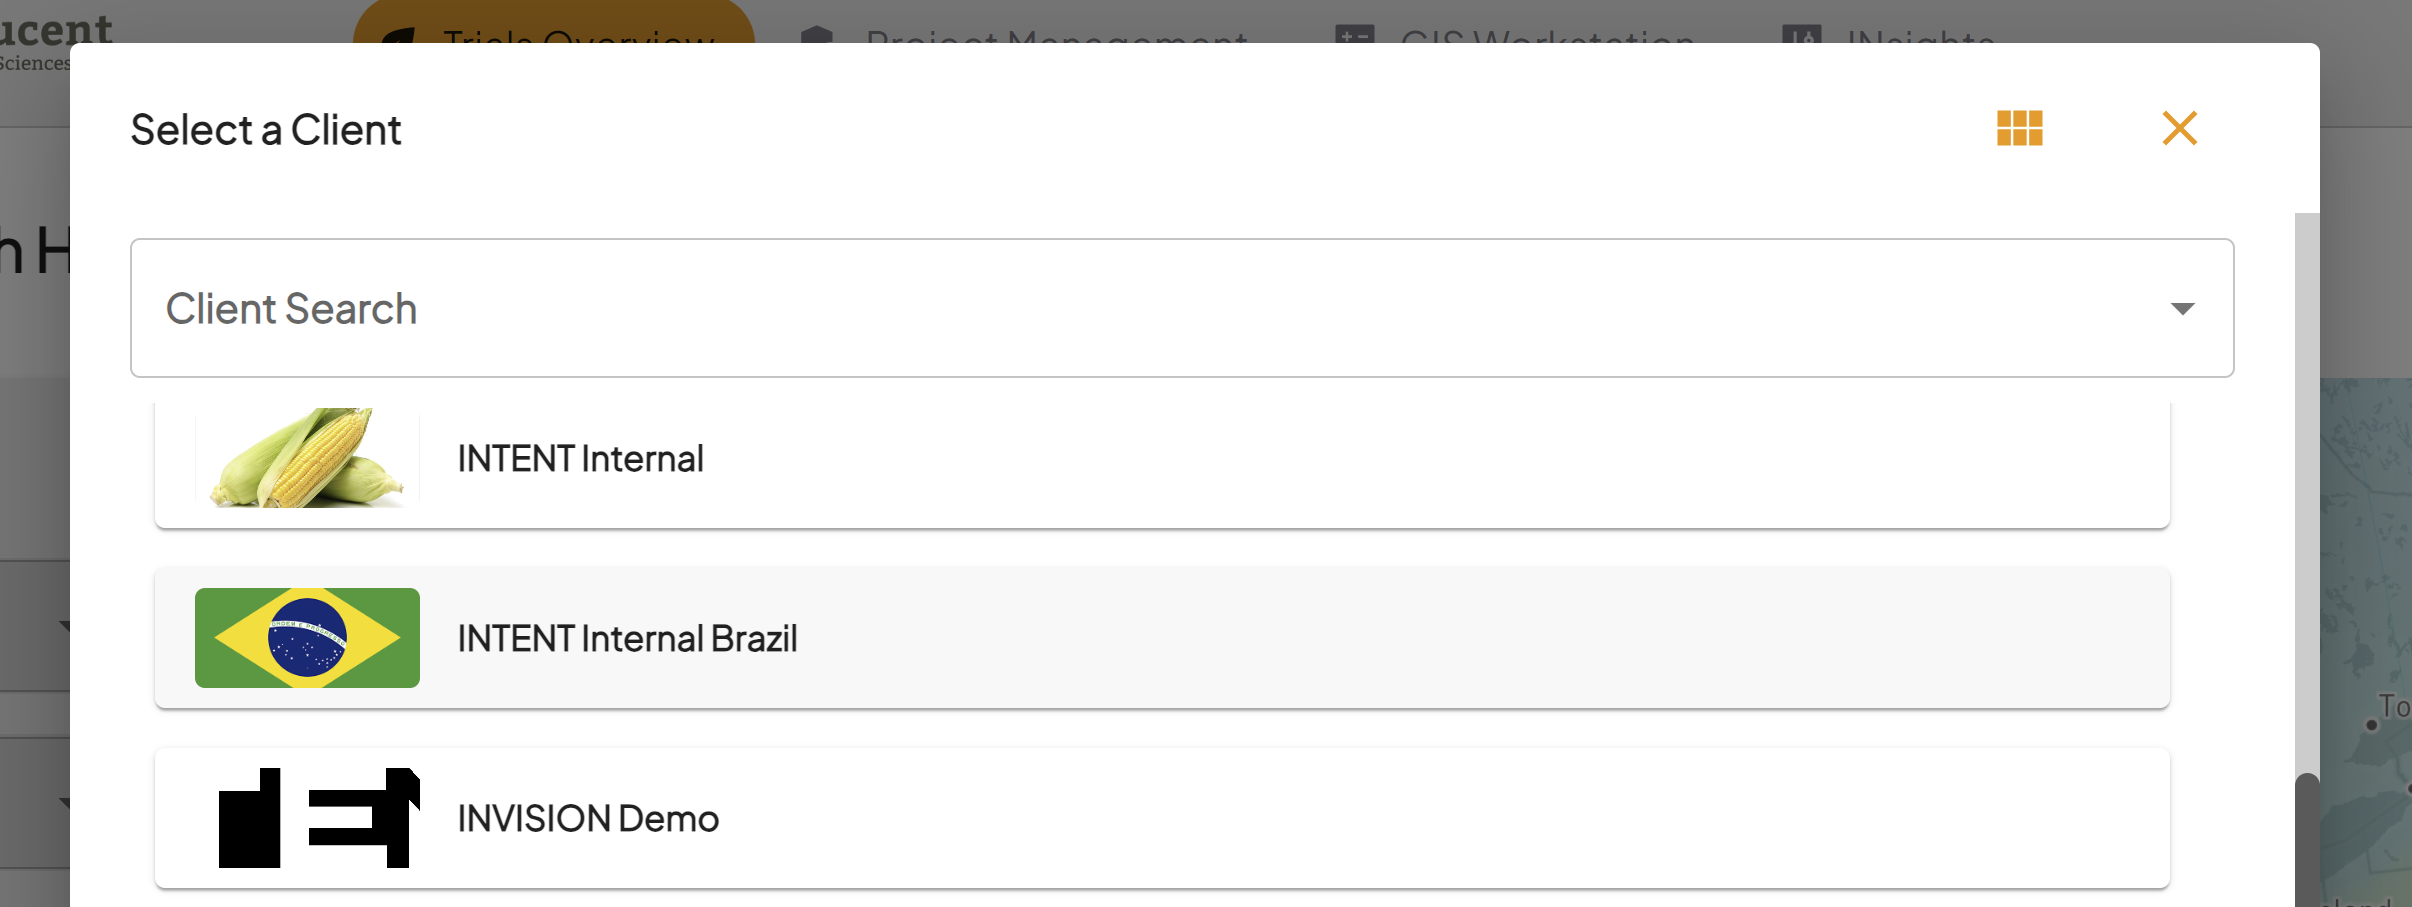
- Click on the client to select them, and hit the Switch button at the bottom of the menu to select this client as the active client for your session.
Switching Your Client Mid Session
- Find Your Initials
- Switching your client after you've logged in to INVISION is simple. Find your initials in the top right corner. There will be a small triangle to the right of your initials.
- Select Switch Clients
- Once you click on the triangle, you will see several options:

- Switch Clients: This is the option to choose if you need to switch your active client.
- Change Password: Selecting this will bring you to a page where you have the option to change your password. For additional help with this, check out our Guide To Resetting Your INVISION Password.
- Logout: Selecting this option will log you out of the INVISION Platform.
- Switch Clients: This is the option to choose if you need to switch your active client.
- Once you click on the triangle, you will see several options:
